

The smell of scorched butter and the sound of a structural failure are the twin ghosts that haunt every high-stakes pastry kitchen. You have spent hours meticulously crafting a lemon curd or a silky ganache; only to watch your vessel crumble into a heap of buttery dust the moment it hits the plate. This is not just a culinary mishap. This is a total breach of Tart Shell Security. When we talk about the architecture of a shortcrust; we are discussing the management of gluten development and the strategic placement of fat molecules. A perfect tart base must be a fortress; capable of holding heavy; moisture-rich fillings without succumbing to the dreaded "soggy bottom" or the catastrophic sidewall collapse. We are moving beyond home-cook guesswork and into the realm of structural engineering. To achieve that snap; that golden hue; and that unwavering verticality; you must treat your flour and butter as if they were steel and concrete. Welcome to the technical audit of the perfect pate sablee.
THE DATA MATRIX
| Metric | Specification |
|---|---|
| Prep Time | 25 Minutes (Active) |
| Execution Time | 2 Hours (Including Chilling) |
| Yield | Two 9-inch (23cm) Tart Shells |
| Complexity (1-10) | 7 |
| Estimated Cost per Serving | $0.85 USD |
THE GATHERS
Ingredient Protocol:
- 250g / 2 cups All-Purpose Flour (11% protein content preferred).
- 150g / 2/3 cup Unsalted European-Style Butter (Cold; cubed).
- 90g / 3/4 cup Powdered Sugar (Sifted).
- 30g / 1/4 cup Almond Flour (Super-fine).
- 1 Large Egg (50g / 1.7 oz; room temperature).
- 2g / 1/2 tsp Fine Sea Salt.
- 5ml / 1 tsp Vanilla Bean Paste.
Section A: Ingredient Quality Audit:
The primary failure point in most tart shells is the water content of the butter. Standard grocery store butter often contains up to 18 percent water; which triggers premature gluten development and causes the shell to shrink. Technical Fix: Use European-style butter with at least 82 percent butterfat. If your flour feels gritty; it likely has a high ash content; which will interfere with the delicate crumb. Always sift your dry ingredients to aerate the mixture and ensure even distribution of the sugar; preventing "hot spots" where the sugar caramelizes too quickly and weakens the wall.
THE MASTERCLASS
1. The Sanding Phase (Sablage)
Combine your flour; almond flour; salt; and cold cubed butter in the bowl of a stand mixer or use a bench scraper to cut the fat into the dry goods. You are looking for a texture resembling coarse sand where no large lumps of butter remain.
Pro Tip: This process coats the flour proteins in fat; which inhibits gluten formation when the liquid is added later. This is the foundation of Tart Shell Security; ensuring the crust remains tender rather than bread-like.
2. Emulsifying the Binder
In a separate small saucier or bowl; whisk the egg and vanilla bean paste until the mixture is viscous and completely homogenous. Add this to the sandy flour mixture and mix on the lowest speed only until the dough just begins to clump together.
Pro Tip: Using a digital scale to measure your egg ensures the hydration levels are precise. Too much moisture leads to shrinkage; while too little leads to a brittle base that cannot be docked properly.
3. The Fraisage Technique
Turn the dough onto a clean surface. Use the heel of your hand to smear the dough away from you in short; decisive strokes. This final homogenization ensures that any remaining butter streaks are integrated without overworking the dough.
Pro Tip: Over-mixing at this stage is the enemy. The goal is to render the fat into microscopic layers that will create a crisp; short texture once the heat of the oven hits the lipids.
4. Controlled Hydration (The Chill)
Wrap the dough tightly in plastic wrap and flatten it into a disc. Refrigerate for at least two hours; though overnight is superior. This allows the starch granules to fully hydrate and the gluten to relax.
Pro Tip: Cold dough is structural dough. If the dough is too warm when it enters the oven; the fat will melt before the starch sets; leading to the dreaded sidewall collapse.
5. Precision Docking and Blind Baking
Roll the dough to a uniform 3mm thickness. Fit it into your tart ring; pressing firmly into the corners to eliminate air pockets. Prick the bottom with a fork (docking) and line with parchment paper and pie weights. Bake at 175C (350F) until the edges are set.
Pro Tip: Removing the weights for the final five minutes of baking allows the Maillard reaction to occur on the interior base; creating a moisture barrier that prevents fillings from making the crust soggy.
Section B: Prep & Timing Fault-Lines:
The most common human error is rushing the "rest" periods. If you roll out dough that is still vibrating from the mechanical energy of the mixer; the gluten will snap back like a rubber band in the oven. Technical Fix: If the dough feels elastic or bouncy while rolling; stop immediately. Place it back in the chiller for fifteen minutes to allow the molecular bonds to stabilize. Temperature control is your primary tool for maintaining Tart Shell Security.
THE VISUAL SPECTRUM
Section C: Thermal & Visual Troubleshooting:
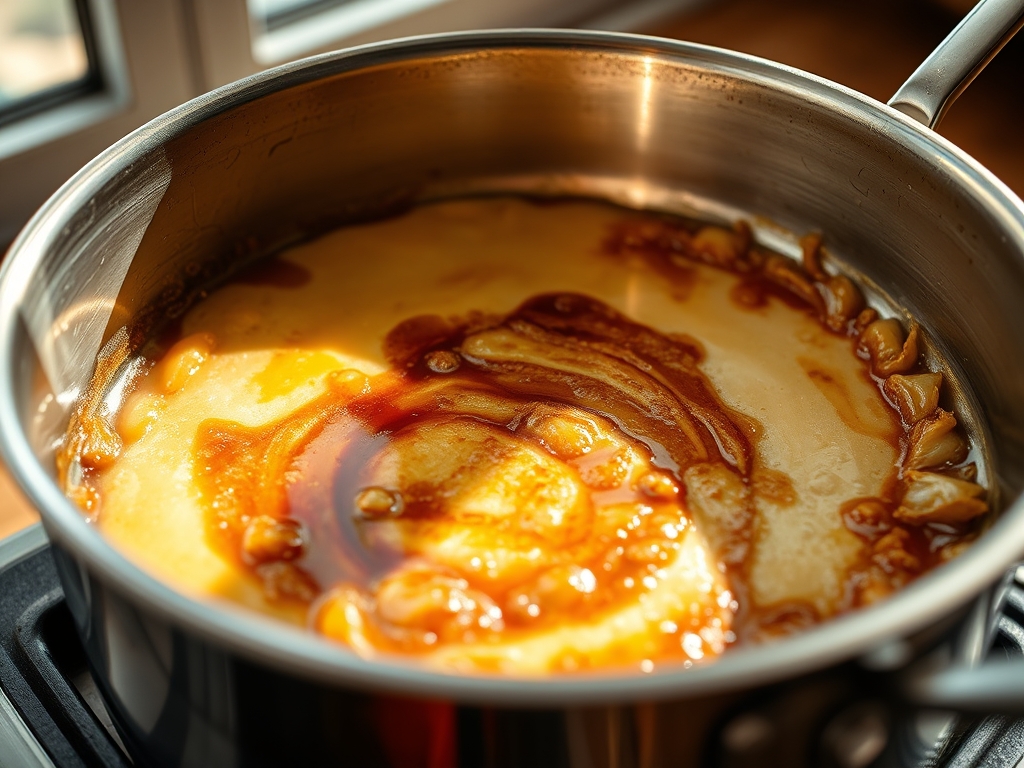
Referencing the Masterclass photo above; a successful audit results in a uniform; pale-gold "biscuit" color. If you see dark brown edges with a pale; white center; your oven has uneven heat distribution or you failed to use a perforated baking mat. If the surface appears dull and "dusty" rather than crisp; you likely used too much bench flour during the rolling process. Technical Fix: Use a pastry brush to remove excess flour before placing the dough in the pan. If the walls have slumped; you likely did not "anchor" the dough over the rim of the tart ring properly before trimming. The visual cue for a perfect bake is a slight separation of the pastry from the metal ring; indicating the moisture has evaporated and the structure is set.
THE DEEP DIVE
Macro Nutrition Profile:
A single serving of this precision tart base (crust only) contains approximately 210 calories; 14g of fat; 18g of carbohydrates; and 3g of protein. The high fat content is essential for the "short" texture that defines a professional pate sablee.
Dietary Swaps:
For a Vegan alternative; substitute the butter with a high-quality plant-based block (minimum 80% fat) and replace the egg with 50g of silken tofu blended with a pinch of leavening agent. For GF versions; use a 1-to-1 gluten-free flour blend containing xanthan gum to provide the necessary elasticity.
Meal Prep & Reheating Science:
To maintain molecular structure; unbaked dough can be frozen for up to three months. Once baked; the shell should be stored in an airtight container with a silica gel packet to prevent atmospheric moisture from softening the starch lattice. If reheating; use a low-temperature oven (150C) to infuse heat slowly without burning the delicate sugars.
THE KITCHEN TABLE
Why did my tart shell shrink down the sides?
This is usually caused by overworking the dough or failing to let it rest. The gluten strands remain tense and contract when heated. Ensure a full two-hour chill post-rolling to maintain Tart Shell Security.
Can I use granulated sugar instead of powdered?
Powdered sugar contains a small amount of cornstarch and dissolves faster. Granulated sugar can leave a grainy texture and may cause the crust to spread or lose its sharp definition during the baking process.
What is the purpose of the almond flour?
Almond flour adds fat and interrupts gluten strands; resulting in a more tender "melt-in-the-mouth" texture. It also provides a subtle nutty aroma that complements both sweet and savory fillings.
How do I fix a crack in the pre-baked shell?
Do not panic. Take a small piece of raw dough and "spackle" the crack before the final bake. The proteins will fuse together in the oven; sealing the breach and preventing your filling from leaking.

