
Listen to the sound of structural failure. It is the most beautiful noise in the culinary world. When your fork descends upon a perfectly executed Phyllo Dough Crust; it does not simply cut; it detonates. We are talking about a microscopic symphony of shattered wheat glass; a thousand paper-thin layers of laminated architecture collapsing in a sequence of buttery percussion. This is not mere baking; it is high-stakes structural engineering. Most home cooks treat phyllo like a fragile antique; they approach it with a trembling hand and a prayer. That is why they fail. To master this medium; you must understand the physics of dehydration and the chemistry of fat-barrier insulation. We are building a thermal shield for our fillings; a golden; translucent armor that must remain crisp enough to resist the moisture of the interior while providing a shattering contrast to the viscous treasures within. If you want a soggy; limp napkin at the bottom of your pie; go elsewhere. If you want a technical masterpiece that defies the laws of gravity; welcome to the audit.
THE DATA MATRIX
| Metric | Specification |
|---|---|
| Prep Time | 25 minutes |
| Execution Time | 45 minutes |
| Yield | 1 Large Tart / 12 Servings |
| Complexity | 7/10 |
| Estimated Cost per Serving | $1.15 |
THE GATHERS
Ingredient Protocol:
- 454g / 1 lb High-Quality Phyllo Sheets (Thawed)
- 225g / 1 cup Unsalted High-Fat Butter (Melted)
- 15g / 1 tbsp Fine Semolina or Cornstarch (For moisture barrier)
- 5ml / 1 tsp Pure Vanilla Extract or Lemon Zest (To infuse the fat)
- 2g / 0.5 tsp Fine Sea Salt
Section A: Ingredient Quality Audit:
The primary failure point in a Phyllo Dough Crust is the moisture content of the dough itself. If your sheets feel tacky or stick together upon unrolling; the factory-sealed package likely suffered a temperature excursion during transit; causing condensation. You cannot fix "melted" dough; but you can prevent it by ensuring a slow 24-hour thaw in the refrigerator. Never thaw at room temperature. Furthermore; the quality of your fat is non-negotiable. Standard grocery store butter contains up to 18 percent water. When that water evaporates in the oven; it creates steam that can turn your layers into a gummy mess. The technical fix? Use clarified butter or ghee. By removing the milk solids and water; you ensure a pure fat barrier that allows the starch to render into a glass-like state rather than a soggy one.
THE MASTERCLASS
Step 1: The Thermal Preparation and Fat Infusion
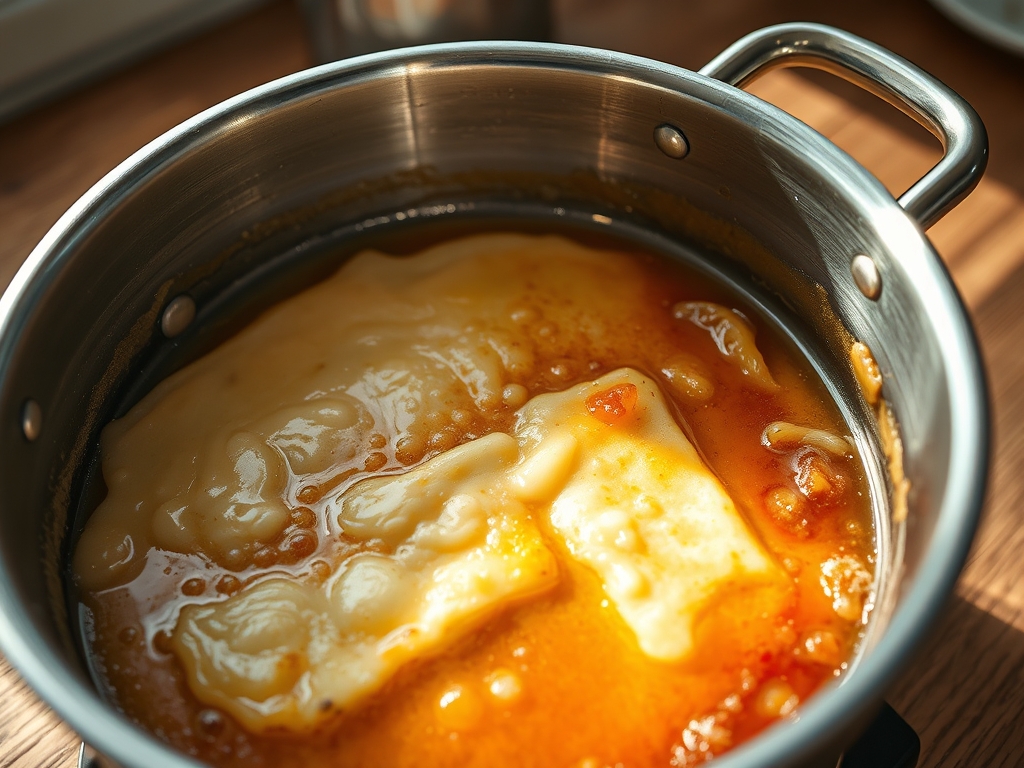
Set your oven to 190C / 375F. In a small saucier; melt your butter over low heat. Once liquid; whisk in your salt and aromatics. Use a digital scale to ensure your measurements are precise; as even a 5-gram variance in salt can mute the delicate wheat flavor.
Pro Tip: This is where you infuse the fat. By heating the aromatics directly in the butter; you distribute flavor molecules evenly across every square millimeter of the crust rather than having "hot spots" of seasoning.
Step 2: The Foundation Layering
Unroll the phyllo on a clean; dry surface. Cover immediately with a damp (not soaking) kitchen towel. Place your first sheet into the pan; allowing the edges to overhang. Using a wide natural-bristle pastry brush; apply the butter in a dabbing motion rather than a dragging one.
Pro Tip: Dragging the brush creates friction that tears the microscopic gluten strands. Dabbing preserves the integrity of the sheet. Use a bench scraper to tuck the edges if you are working in a deep-dish format to ensure no air pockets remain at the base.
Step 3: The Stratification Sequence
Repeat the layering process; rotating each sheet by 45 degrees. This creates a cross-hatched structural lattice that prevents the crust from shrinking. Every three layers; lightly sprinkle a pinch of semolina between the sheets.
Pro Tip: The semolina acts as a "spacer" and a moisture wick. It prevents the layers from fusing into a solid block; ensuring the air can aerate the spaces between the sheets for maximum volume.
Step 4: The Edge Architecture and Final Seal
Once all sheets are layered; roll the overhanging edges inward to create a rustic; reinforced rim. Brush the entire surface liberally with the remaining butter. Use a sharp paring knife to score the top layers into your desired serving sizes before baking.
Pro Tip: Scoring the dough while raw prevents the "shatter effect" that occurs when you try to cut a fully baked Phyllo Dough Crust. It allows steam to escape from the lower strata; preventing the center from bubbling upward.
Section B: Prep & Timing Fault-Lines:
The greatest enemy of the auditor is the "Dough Dry-Out." Phyllo is essentially a giant sheet of edible parchment; it will lose its elasticity within ninety seconds of exposure to air. If you find your sheets cracking; you are moving too slowly. The technical fix is "The Assembly Line Method." Organize your workspace so the butter; brush; and pan are within a 12-inch radius of the dough. If the dough becomes brittle; do not discard it. Brush the cracked pieces with extra butter and "laminate" them into the middle layers where they will be structurally supported by whole sheets. Temperature control is equally vital; if your butter is too hot; it will melt the dough on contact. Aim for 40C / 105F for the fat application.
THE VISUAL SPECTRUM
Section C: Thermal & Visual Troubleshooting:
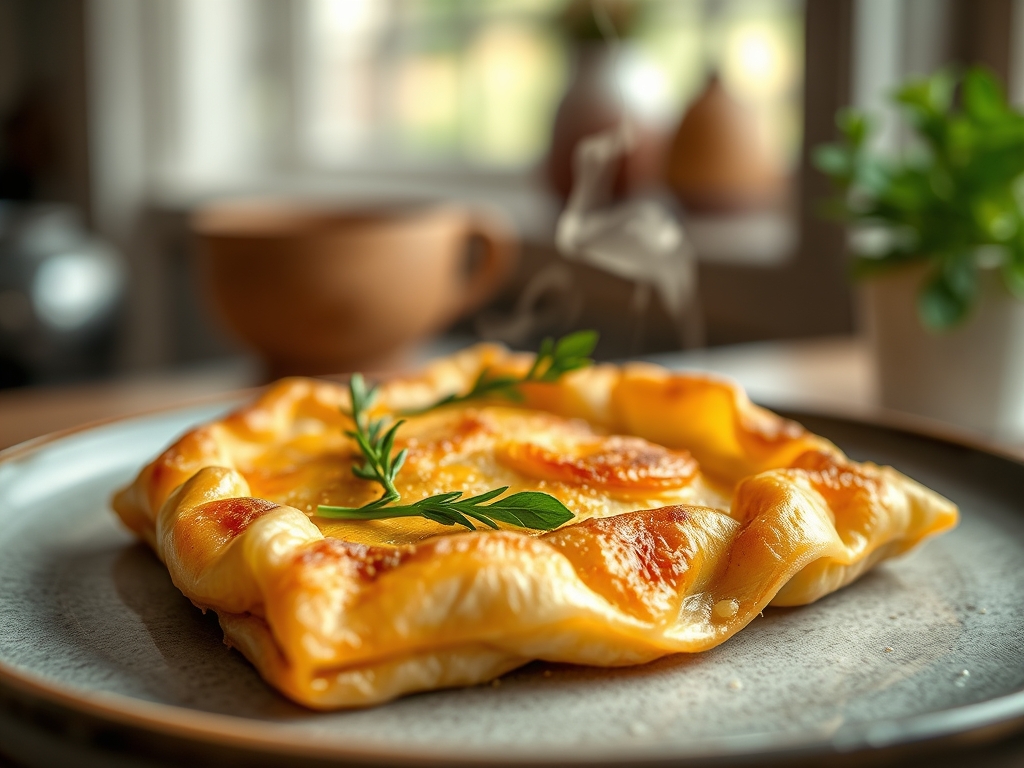
Referencing the Masterclass photo; a successful Phyllo Dough Crust should exhibit a gradient of "Burnished Gold" to "Deep Amber" on the edges. If your crust looks pale and chalky; you have an under-caramelization issue. This is often caused by insufficient fat application or an oven temperature that is too low to trigger the Maillard reaction.
If the top layer is browning too quickly while the base remains white; your rack position is too high. Move the pan to the lower third of the oven. If the layers appear "fused" rather than distinct; you likely used too much butter or failed to use the semolina spacer. The visual cue for perfection is "The Lift." The edges should have risen significantly; showing distinct; separated ridges that look like the pages of an old book. If the crust looks flat; your layers were pressed too firmly together during the assembly phase.
THE DEEP DIVE
Macro Nutrition Profile:
A single serving of this crust (without filling) typically contains 180 calories; 12g of fat; 15g of carbohydrates; and 2g of protein. While high in lipids; the thinness of the dough means you consume less flour per surface area than a traditional shortcrust.
Dietary Swaps:
- Vegan: Replace butter with a high-quality vegan block butter or a neutral oil like grapeseed. Avoid coconut oil as its low smoke point can cause premature browning.
- Keto/GF: True phyllo is wheat-based. For a GF alternative; look for rice-paper based substitutes; though the "shatter" profile will be significantly different.
Meal Prep & Reheating Science:
Never microwave a Phyllo Dough Crust. The microwave excites water molecules; which will immediately migrate into the starch; resulting in a rubbery texture. To maintain the molecular structure; reheat in a 175C / 350F oven for 8 minutes. This re-crisps the fat and evaporates any migrated moisture from the filling.
THE KITCHEN TABLE
How do I stop the bottom from getting soggy?
Blind bake the crust for 10 minutes before adding wet fillings. Alternatively; brush the base with an egg wash to create a hydrophobic protein shield that prevents moisture migration from the filling into the lower layers of the dough.
Can I use oil instead of butter?
Yes; but you will lose the flavor complexity provided by milk solids. If using oil; choose one with a high smoke point. The resulting texture will be crunchier and harder; lacking the delicate; melt-in-the-mouth quality of a butter-based crust.
Why did my phyllo turn into a brick?
You likely over-buttered. If the sheets are swimming in fat; they fry together into a solid mass rather than puffing apart. Use a light touch; the goal is to coat the surface; not drown the architecture.
How long does the raw dough last?
Once opened; use it within 24 hours. Even under a damp towel; the edges will begin to oxidize and become brittle. If you have leftovers; wrap them tightly in plastic film and then foil to prevent air intrusion.

