
The scent of caramelizing brassica is not merely a kitchen aroma; it is the olfactory signature of a structural revolution. Forget the soggy, limp discs of the early health-food era. We are engineering a Cauliflower Pizza Crust that possesses the tensile strength of a traditional Neapolitan base while maintaining a profile that is entirely grain-free. This is about the intersection of cellular moisture management and protein coagulation. When you grate a head of cauliflower, you are releasing a torrent of intracellular water that threatens to turn your dinner into a vegetable slurry. Our mission is to render that moisture obsolete. We are hunting for the perfect Maillard reaction on the underside of the crust, creating a crisp, golden lattice that can support a heavy payload of sauce and cheese without buckling. Every gram of moisture removed is a victory for structural integrity. This is high-stakes culinary architecture where the mortar is egg and cheese, and the bricks are finely riced florets. Prepare for a piquant, savory experience that defies the limitations of its botanical origins.
THE DATA MATRIX
| Metric | Specification |
|---|---|
| Prep Time | 25 Minutes |
| Execution Time | 20 Minutes |
| Yield | 2 Standard 10-inch Crusts |
| Complexity (1-10) | 6 |
| Estimated Cost per Serving | $1.85 |
THE GATHERS
Ingredient Protocol:
- 1 large head Cauliflower (approx. 800g / 1.75 lbs)
- 1 large Egg (50g / 1.76 oz), lightly beaten
- 125ml / 0.5 cup Goat cheese or finely grated Parmesan
- 5ml / 1 tsp Dried Oregano
- 2.5ml / 0.5 tsp Fine Sea Salt
- 1.25ml / 0.25 tsp Freshly cracked Black Pepper
Section A: Ingredient Quality Audit:
The primary failure point in this infrastructure is the cauliflower age. Older heads lose their cellular turgor and become viscous when processed, resulting in a gummy texture. If your cauliflower feels light for its size or shows brown spotting, it has begun to dehydrate unevenly. To fix this, pulse the florets in shorter bursts to avoid over-processing. If using frozen riced cauliflower, the thermal shock has already ruptured the cell walls. You must double the dehydration efforts. If the cheese is too oily, it will break the emulsion of the egg binder. Always opt for a dry, aged cheese to ensure the fats do not separate during the high-heat bake.
THE MASTERCLASS
Step-by-Step Execution:
1. Precision Ricing and Thermal Breakdown
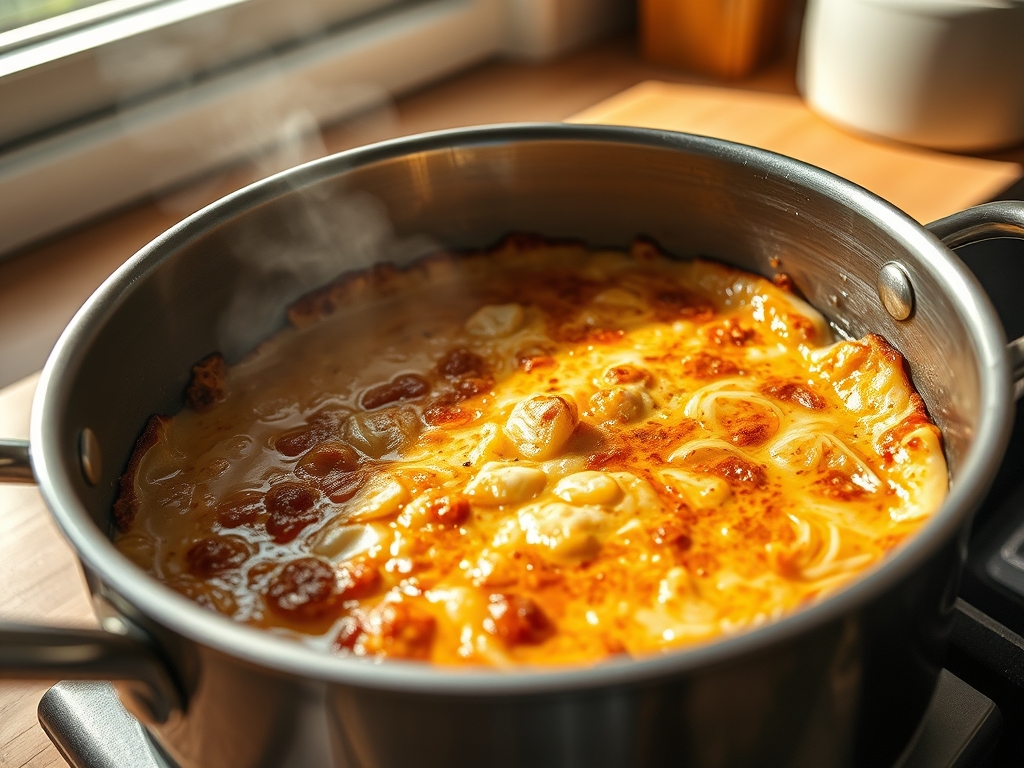
Break the cauliflower into uniform florets and process in a food processor until they resemble fine grains of couscous. Transfer the grains to a microwave-safe bowl and steam for 8 minutes. Alternatively, use a saucier on low heat to gently sweat the moisture out without browning.
Pro Tip: Use a digital scale to ensure you have exactly 600g of riced cauliflower after steaming. The ratio of vegetable mass to protein binder is the most critical variable in preventing a structural collapse.
2. The Great Dehydration
This is the most critical phase. Once the cauliflower has cooled slightly, wrap it in a clean lint-free kitchen towel or cheesecloth. Squeeze the bundle with maximum force. You must extract every possible drop of liquid until the remains feel like dry clay.
Pro Tip: If the towel remains damp, you have failed. Use a bench scraper to spread the squeezed pulp across a flat surface to check for residual moisture. The goal is to remove at least 250ml of liquid from a single head.
3. Binding the Matrix
In a large mixing bowl, combine the dry cauliflower pulp, the beaten egg, cheese, and spices. Use your hands to knead the mixture into a cohesive dough ball. The proteins in the egg and the fats in the cheese will infuse with the cellulose fibers to create a workable paste.
Pro Tip: Ensure the cauliflower is below 45 degrees Celsius before adding the egg. If it is too hot, the egg will scramble prematurely, destroying the binding capacity of the proteins.
4. Architectural Shaping and Initial Firing
Preheat your oven to 220 degrees Celsius. Line a baking sheet with parchment paper. Place the dough in the center and press it outward into a 10-inch circle, ensuring the edges are slightly thicker to prevent burning.
Pro Tip: Aim for a thickness of 5mm. Use a bench scraper to square off the edges for a professional aesthetic. Bake for 12 to 15 minutes until the surface is golden and the edges are starting to char.
5. The Final Load and Seal
Remove the crust from the oven. Flip it carefully to ensure even dehydration on both sides. Add your desired toppings sparingly; do not overload the crust with high-moisture vegetables or watery sauces. Bake for an additional 5 to 7 minutes.
Pro Tip: Use a pizza stone if available. The high thermal mass of the stone helps to render out any remaining moisture from the bottom of the crust, ensuring a snap when bitten.
Section B: Prep & Timing Fault-Lines:
The most common human error is impatience during the cooling phase. If you attempt to squeeze the cauliflower while it is piping hot, the steam will burn your hands and you will subconsciously stop before the moisture is fully extracted. Another timing error occurs during the "flip." If the crust has not spent at least 12 minutes in the initial bake, the protein structure will not be set, and the crust will tear. Use a timer and do not rely on visual cues alone for the internal structure.
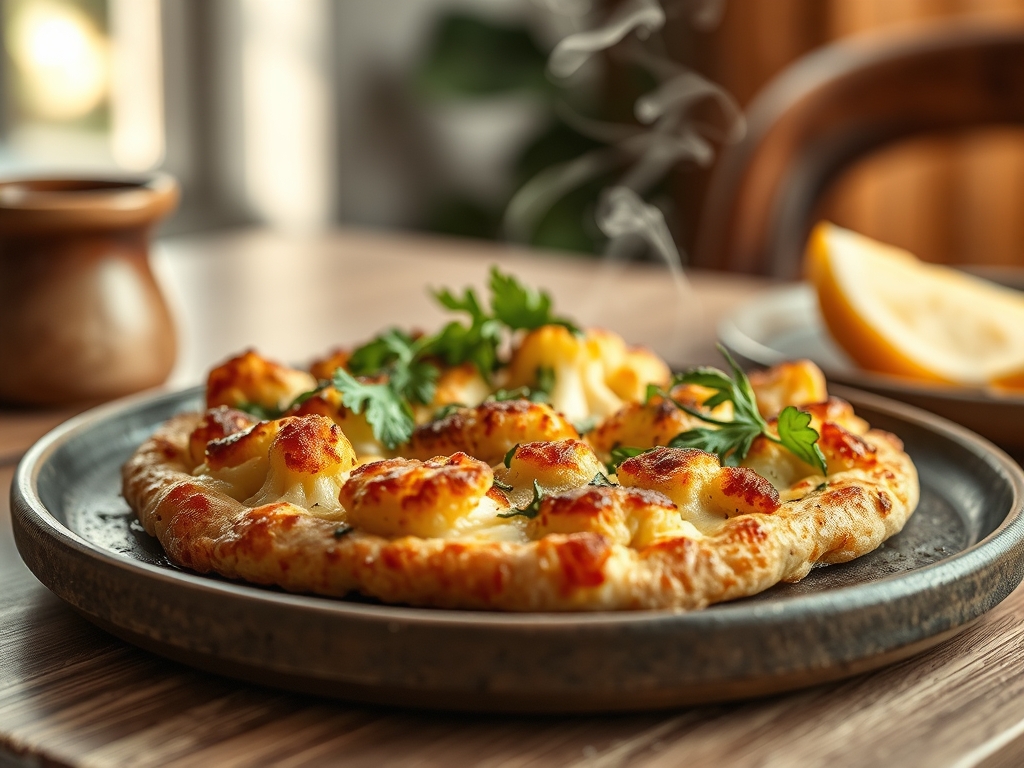
THE VISUAL SPECTRUM
Section C: Thermal & Visual Troubleshooting:
Referencing the Masterclass photo, the ideal crust should exhibit a deep ochre hue with localized dark spots known as "leopard spotting." If your crust looks pale or translucent, the moisture content was too high; the cauliflower is boiling in its own juice rather than roasting. If the edges are black but the center is soft, your oven has uneven heat distribution or the crust was pressed too thin at the perimeter. To achieve the vibrant, piquant look of the reference image, ensure the cheese is finely grated and evenly distributed to allow for uniform browning across the entire surface area.
THE DEEP DIVE
Macro Nutrition Profile
A standard serving (1/4 of the recipe) provides approximately 120 calories, 8g of protein, 6g of carbohydrates, and 7g of fat. This is a massive shift from traditional dough which can carry upwards of 30g of carbohydrates per slice. The high fiber content of the cauliflower aids in satiety without the glycemic spike associated with refined flour.
Dietary Swaps
For a vegan iteration, replace the egg with a "flax egg" (15ml ground flax mixed with 45ml water) and use a vegan nut-based Parmesan. For a strict Keto profile, increase the cheese ratio and decrease the cauliflower volume slightly to lower the net carb count further. This recipe is naturally gluten-free, making it a safe harbor for those with celiac disease.
Meal Prep & Reheating Science
To maintain the molecular structure during storage, do not stack the crusts. Store them between layers of parchment paper in an airtight container for up to three days. When reheating, avoid the microwave at all costs; it will aerate the trapped moisture and turn the crust into a sponge. Instead, use a dry skillet over medium heat to recrisp the base.
THE KITCHEN TABLE
Why is my crust always soggy?
You didn't squeeze hard enough. The cauliflower must be bone-dry before mixing. If your towel isn't soaked, you haven't finished the job. Moisture is the enemy of the crunch.
Can I use a blender instead of a food processor?
Blenders tend to pulverize the bottom layer into a puree while leaving the top intact. This creates a viscous mess. If you must use a blender, work in very small batches and use the pulse setting.
What is the best cheese for structural integrity?
Hard, aged cheeses like Pecorino Romano or Parmesan are superior. They have lower moisture content and higher protein density, which helps the crust "set" during the initial thermal exposure in the oven.
Does the crust need to be flipped?
Yes. Flipping ensures that the bottom of the crust, which is in contact with the parchment, has a chance to release steam. This prevents a "steamed" texture and promotes a uniform, cracker-like snap.

