
Stop treating your dessert like a delicate flower and start treating it like a high-rise construction site. Most home cooks approach the bottom of their cake with a casual shrug; however, the true professional understands that Cheesecake Base Logic is the difference between a structural masterpiece and a soggy, structural collapse. We are talking about the foundation of the entire sensory experience. If your crust lacks the necessary shear strength to support the dense, viscous weight of the cream cheese filling, your entire culinary audit has failed before the first bite. You want a base that shatters with a crisp, auditory snap, offering a toasted, nutty counterpoint to the velvet interior. We are not just mixing crumbs; we are engineering a compressed aggregate of lipids and carbohydrates designed to withstand thermal expansion and moisture migration. This is the technical audit of the crumb based wall. This is where we separate the amateur bakers from the culinary architects. Put down the pre-made tin and pick up your digital scale. It is time to build.
THE DATA MATRIX
| Metric | Specification |
|---|---|
| Prep Time | 15 Minutes |
| Execution Time | 10 Minutes (Bake) / 30 Minutes (Chill) |
| Yield | One 23cm / 9-inch Springform Base |
| Complexity (1-10) | 3 |
| Estimated Cost per Serving | $0.45 USD |
THE GATHERS
Ingredient Protocol:
- 300g / 2.5 cups Graham Cracker or Digestive Biscuit Crumbs
- 115g / 0.5 cup Unsalted European-style Butter (82% butterfat)
- 50g / 0.25 cup Granulated White Sugar
- 2g / 0.5 tsp Fine Sea Salt
- 1g / 0.25 tsp Ground Cinnamon (optional for aromatic infusion)
Section A: Ingredient Quality Audit:
The primary failure point in most crumb walls is the moisture content of the biscuit. If your crumbs feel oily or soft before you even add the butter, they have likely oxidized or absorbed ambient humidity. To fix this, spread the crumbs on a sheet pan and toast them at 150C for five minutes to render out excess moisture.
Furthermore, the butter quality is non-negotiable. Standard grocery store butter often contains high water content, which creates steam during the bake and leads to a crumbly, unstable wall. Use high-fat European butter to ensure the lipids properly coat every grain of carbohydrate. If your mixture feels too dry, do not just add more butter; instead, pulse the mixture in a food processor to ensure the fat is fully emulsified into the dry particles.
THE MASTERCLASS
1. Precision Pulverization
Place your biscuits into a high-speed blender or use a heavy-duty rolling pin to achieve a uniform, sandy texture. You are looking for a specific particle size; too large and the wall lacks cohesion; too fine and it becomes a dense, impenetrable brick.
Pro Tip: Use a fine-mesh sieve to ensure no large chunks remain. The science here is surface area. Smaller, uniform particles allow the melted butter to coat every surface, creating a more effective moisture barrier through capillary action.
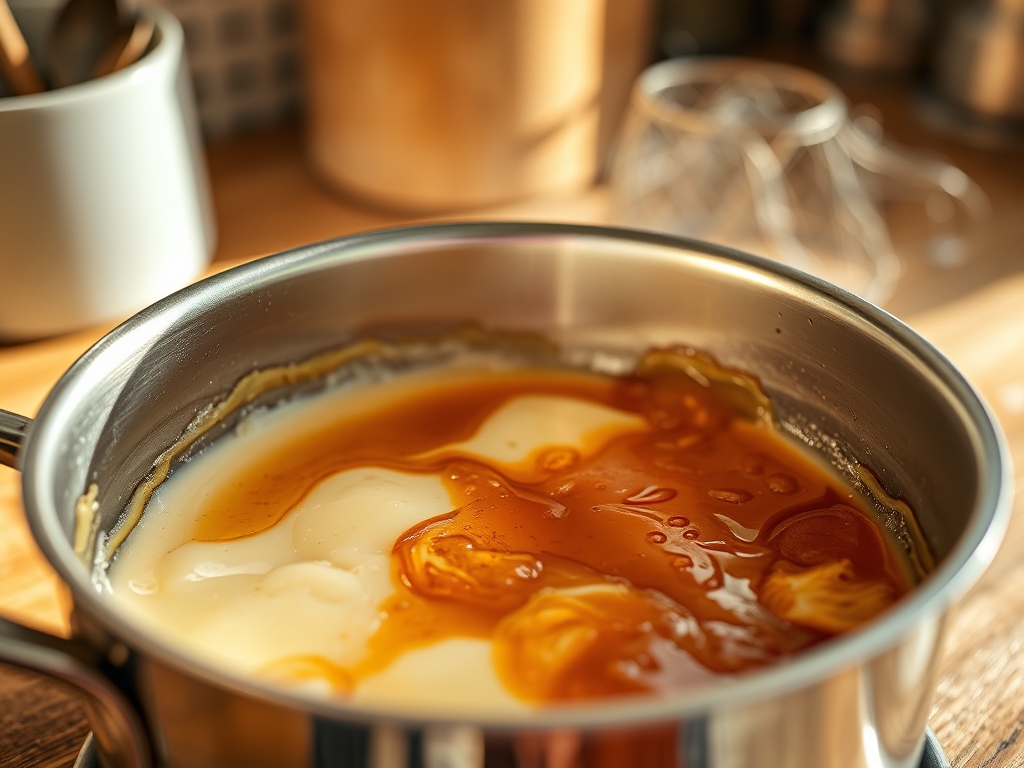
2. Lipid Integration
Melt your butter in a small saucier over low heat until it is completely liquid but not yet browning. Pour the butter over the dry mixture and toss with a silicone spatula until the texture resembles wet sand.
Pro Tip: Use a digital scale to measure your butter after melting. Evaporation during the melting process can alter your ratios. Proper lipid integration ensures that the sugar dissolves slightly, acting as a secondary adhesive once cooled.
3. Structural Compression
Transfer the mixture to your springform pan. Use the flat bottom of a heavy metal measuring cup or a bench scraper to press the crumbs firmly into the base and up the sides.
Pro Tip: Compression is the key to Cheesecake Base Logic. By applying even pressure, you are forcing the air out and creating a high-density matrix. This prevents the filling from seeping into the crust, which would otherwise result in a "soggy bottom" syndrome.
4. Thermal Setting
Bake the crust at 175C for 8 to 10 minutes. You are looking for a slight darkening in color and a fragrant, toasted aroma.
Pro Tip: This stage initiates the Maillard reaction, where sugars and proteins interact to create complex flavor compounds. It also "sets" the butter and sugar into a crystalline structure that will remain rigid even after the heavy filling is added.
Section B: Prep & Timing Fault-Lines:
The most common human error is the "Rush Factor." If you pour a warm cheesecake batter onto a hot, freshly baked crust, you will melt the structural lipids and ruin the crunch. The crust must be cooled to room temperature before the filling is introduced. If your timing is off, use a blast chiller or a refrigerator to accelerate the setting of the butter. Additionally, ensure your springform pan is tight; a loose latch can cause the butter to leak out during the bake, leading to a dry, brittle base that lacks the strength to hold a slice.
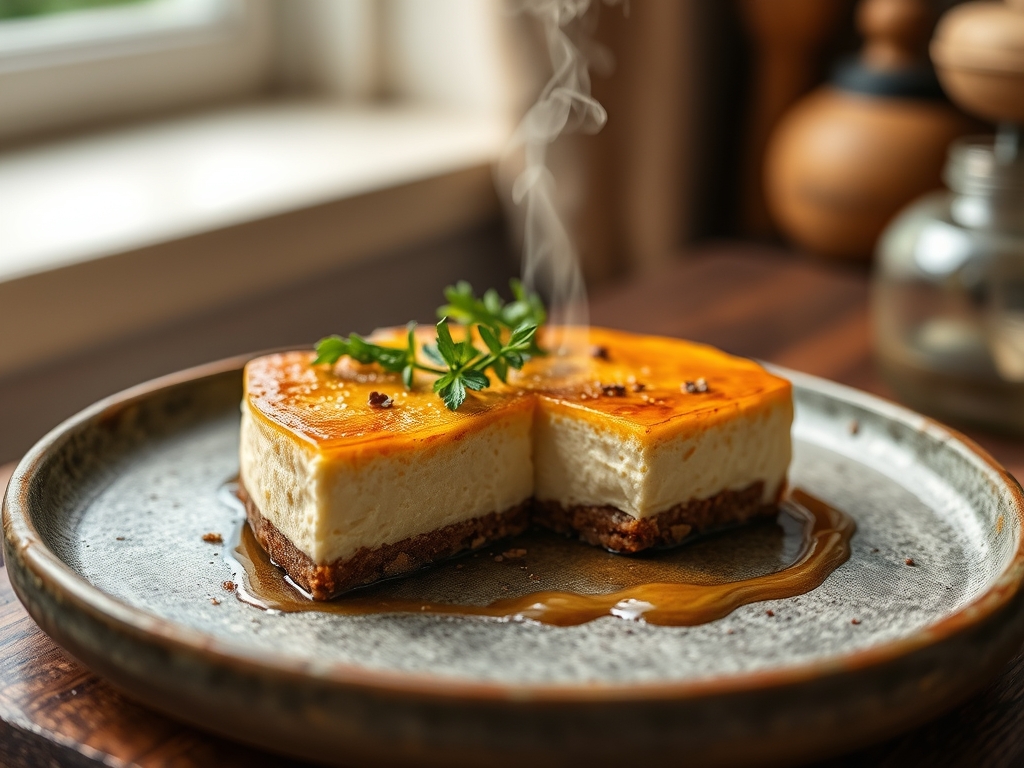
THE VISUAL SPECTRUM
Section C: Thermal & Visual Troubleshooting:
Referencing the Masterclass photo, your crust should exhibit a deep golden hue with a matte finish. If you see dark brown spots, your oven has "hot spots" and you must rotate the pan halfway through the bake. If the edges appear greasy or translucent, your butter-to-crumb ratio is too high; you can mitigate this by pressing a paper towel onto the surface to absorb excess fat before it sets.
A dull, pale color indicates under-baking, which means the sugars have not caramelized. This results in a "floury" mouthfeel. If the crust pulls away from the sides of the pan excessively, you have over-compressed the mixture, causing it to shrink as the moisture evaporates. Aim for a snug fit that holds its shape without looking shrunken.
THE DEEP DIVE
Macro Nutrition Profile:
Per serving, this base provides approximately 180 calories, 12g of fat, 18g of carbohydrates, and 2g of protein. It is a high-energy foundation designed for satiety and flavor delivery.
Dietary Swaps:
- Vegan: Substitute the butter with a high-quality coconut oil or vegan butter block. Ensure the fat is solid at room temperature to maintain structural integrity.
- Keto: Use almond flour and crushed pecans instead of graham crackers. Use erythritol as the sweetener and increase the egg white content slightly to act as a binder.
- Gluten-Free: Utilize GF-certified digestive biscuits. These often require 10% more butter as GF flours tend to be more absorbent.
Meal Prep & Reheating Science:
To maintain the molecular structure, do not freeze the raw crust. Bake it first to set the bonds. If reheating a finished cheesecake, do so slowly; rapid temperature changes cause the crust to expand at a different rate than the filling, leading to structural fractures.
THE KITCHEN TABLE
Why does my crust always crumble when I cut it?
You likely lacked sufficient compression or used butter with too much water. Ensure you press the crumbs down with significant force and use high-fat butter to create a stronger "glue" once the lipids solidify in the fridge.
Can I skip the pre-bake step?
You can, but you shouldn't. Pre-baking creates a moisture barrier and develops flavor through the Maillard reaction. Without it, the crust will absorb the moisture from the filling and become a soft, flavorless paste.
My crust is too hard to bite through. What happened?
This is a result of over-baking or using too much sugar. Excess sugar caramelizes into a hard candy-like state. Stick to the 10-minute limit and ensure your measurements are precise using a digital scale.
Can I use margarine instead of butter?
Margarine has a higher water content and lower melting point. It will not provide the same structural rigidity as butter. For a professional-grade audit, margarine is strictly prohibited in the construction of crumb based walls.

