
Forget everything you know about the humble pie bottom. We are not just crushing cookies; we are engineers designing a load-bearing structural foundation. The Graham Cracker Crust is the unsung hero of the confectionery world. It is the literal bedrock that prevents your silky cheesecakes from collapsing into a tragic puddle of dairy. When done correctly, it is a masterpiece of lipid-saturated sucrose. You want a base that shatters with a satisfying snap but remains cohesive enough to withstand the weight of a dense ganache. We are looking for that perfect ratio of crumb to fat where the butter acts as the mortar in a wall of toasted wheat and honey. The scent alone should be a visceral trigger of Maillard-induced nostalgia. It is nutty, buttery, and carries a hint of caramelized salt. If your crust is weeping oil or crumbling into dust before it hits the plate, your infrastructure has failed. It is time to audit your technique and rebuild from the ground up with professional precision.
THE DATA MATRIX
| Metric | Specification |
|---|---|
| Prep Time | 10 Minutes |
| Execution Time | 12 Minutes |
| Yield | One 9-inch (23cm) Deep Dish Base |
| Complexity (1-10) | 2 |
| Estimated Cost per Serving | $0.45 USD |
THE GATHERS
Ingredient Protocol:
- Graham Cracker Crumbs: 170g / 1.5 cups (Pulse until they resemble fine kinetic sand)
- Granulated White Sugar: 50g / 0.25 cups (For crystalline structural reinforcement)
- Unsalted European-Style Butter: 85g / 6 tablespoons (High fat content is non-negotiable)
- Kosher Salt: 1.5g / 0.25 teaspoon (To balance the high sugar saturation)
- Cinnamon (Optional): 1g / 0.5 teaspoon (To infuse a warm aromatic profile)
Section A: Ingredient Quality Audit:
The primary failure point in a Graham Cracker Crust is the moisture content of the crumb itself. If your crackers have been sitting in a humid pantry, they will be viscous rather than crisp. This prevents the butter from properly coating the surface area. To fix this, spread the crumbs on a sheet pan and dehydrate them in a low oven for five minutes before mixing. Furthermore, do not use cheap, high-water-content butter. Cheap butter contains excess water that will steam during the bake, leading to a soggy, puffed base. Always opt for a high-fat European butter to ensure the lipids effectively render and coat every microscopic grain of sugar. If the mixture feels too dry, do not just add more butter; check your measurements with a digital scale first.
THE MASTERCLASS
1. Precision Reduction of Solids
Place your crackers in a heavy-duty freezer bag and use a rolling pin, or better yet, utilize a high-speed food processor. You are aiming for a uniform particulate size. If the crumbs are uneven, the structural integrity of the crust will be compromised, leading to "fault lines" where the crust will snap prematurely.
Pro Tip: Use a fine-mesh sieve after processing to ensure no large chunks remain. Consistent particle size allows for even emulsification when the liquid fat is introduced. Professionals use a bench scraper to move crumbs efficiently across the workspace.
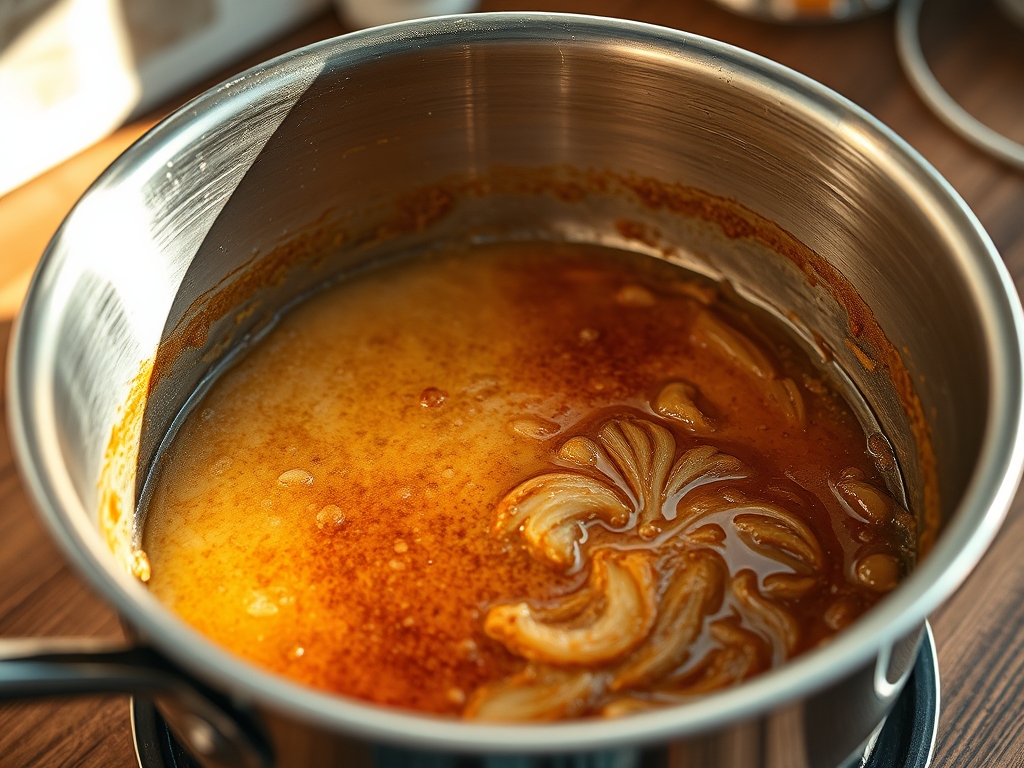
2. The Thermal Integration of Lipids
Melt your high-quality butter in a small saucier over low heat. Do not let it brown yet; you want the milk solids to remain suspended. Pour the melted butter over the dry mixture of crumbs, sugar, and salt. Use a flexible silicone spatula to fold the mixture until it resembles wet, dark sand.
Pro Tip: The sugar acts as a secondary binding agent. As the crust bakes, the sugar crystals melt and fuse with the crumbs. This creates a "sugar-glass" matrix that provides the necessary snap. Ensure the butter is warm when mixing to help the sugar begin its initial dissolution.
3. Structural Compression and Molding
Transfer the mixture into your chosen vessel. Do not just pat it down with your hands. Use the flat bottom of a heavy metal measuring cup or a straight-sided glass to press the crumbs firmly into the bottom and up the sides of the pan. The goal is maximum density.
Pro Tip: Focus on the "corner" where the bottom meets the wall. This is the most common point of structural failure. Using a digital scale to weigh the total mixture ensures you have exactly the right amount of material for a consistent 0.25-inch thickness.
4. The Setting Phase
Bake the crust at 350 degrees Fahrenheit (175 Celsius) for 8 to 10 minutes. You are looking for a slight darkening of the edges and a fragrant, toasted aroma. This step is critical for "locking" the butter and sugar into a solid state.
Pro Tip: Even if you are making a "no-bake" pie, a 10-minute par-bake is the secret to a professional-grade Graham Cracker Crust. It prevents the crust from becoming soggy once the wet filling is added.
Section B: Prep & Timing Fault-Lines:
The most common human error is rushing the cooling process. If you pour a warm filling into a warm crust, you trigger a thermal collapse. The crust must be completely room temperature before the next phase. If you are in a high-volume environment, use a blast chiller or a refrigerator to accelerate this, but be wary of condensation. Moisture is the enemy of the crisp crumb. Another timing error is over-baking; if the sugar reaches the hard-crack stage, the crust will be impossible to slice without a literal saw.
THE VISUAL SPECTRUM
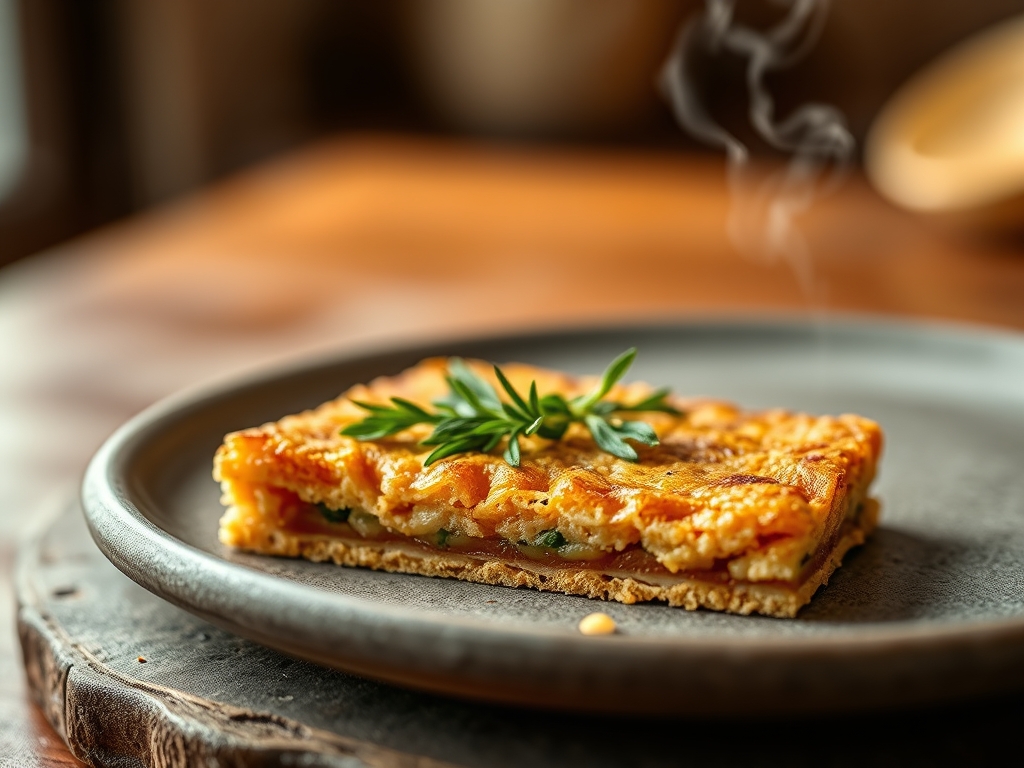
Section C: Thermal & Visual Troubleshooting:
Referencing the Masterclass photo above, notice the golden-tan hue and the matte finish. If your crust looks shiny or greasy, you have a lipid-to-solid imbalance. This usually means too much butter or butter that was too hot during mixing. If the edges are dark brown while the center is pale, your oven has hot spots. Rotate the pan 180 degrees halfway through the bake. A dull, greyish color indicates stale crackers or a lack of salt to brighten the tones. If the crust looks "pitted," you did not compress the crumbs firmly enough. The visual cue for a perfect bake is a uniform, toasted appearance that looks solid and dry to the touch.
THE DEEP DIVE
Macro Nutrition Profile:
A standard serving of this infrastructure contains approximately 180 calories, 9g of fat, 22g of carbohydrates, and 12g of sugar. It is a high-energy density component designed for flavor, not weight loss.
Dietary Swaps:
- Vegan: Replace European butter with a high-quality plant-based butter block (avoid tub margarines which have too much water).
- Keto: Utilize almond flour and erythritol. Add an egg white to the mix to act as a protein binder since you lack the gluten and sugar-glass structure.
- Gluten-Free: Use certified GF graham crackers. The science remains identical, though you may need 10% more butter as GF crumbs tend to be more absorbent.
Meal Prep & Reheating Science:
You can prep the dry crumb and sugar mix weeks in advance. Once baked, the crust can be frozen for up to three months. To maintain molecular structure, wrap it tightly in plastic film to prevent ice crystal formation. When reheating or thawing, do so slowly to avoid "sweating," which would dissolve the sugar bonds and lead to a structural collapse.
THE KITCHEN TABLE
Why does my crust always crumble when I slice it?
You likely lacked compression or used too little sugar. The sugar acts as a glue when melted. Ensure you press the crumbs with significant force using a flat-bottomed tool to create a dense, interlocking matrix.
Can I use brown sugar instead of white?
Yes, but it changes the physics. Brown sugar contains molasses, which adds moisture. This results in a chewier, softer crust rather than a crisp, snapping one. It is a trade-off between flavor depth and structural rigidity.
Do I really need to bake it for a no-bake recipe?
Absolutely. Baking creates the Maillard reaction and melts the sugar into a binding syrup. Without heat, the crust relies solely on chilled butter, which will soften and fail as soon as the pie sits at room temperature.
How do I prevent the crust from sticking to the pan?
The high fat content usually prevents sticking, but for insurance, you can lightly spray the pan with a neutral oil. For professional results, use a springform pan to allow for a clean vertical extraction of the finished product.

