
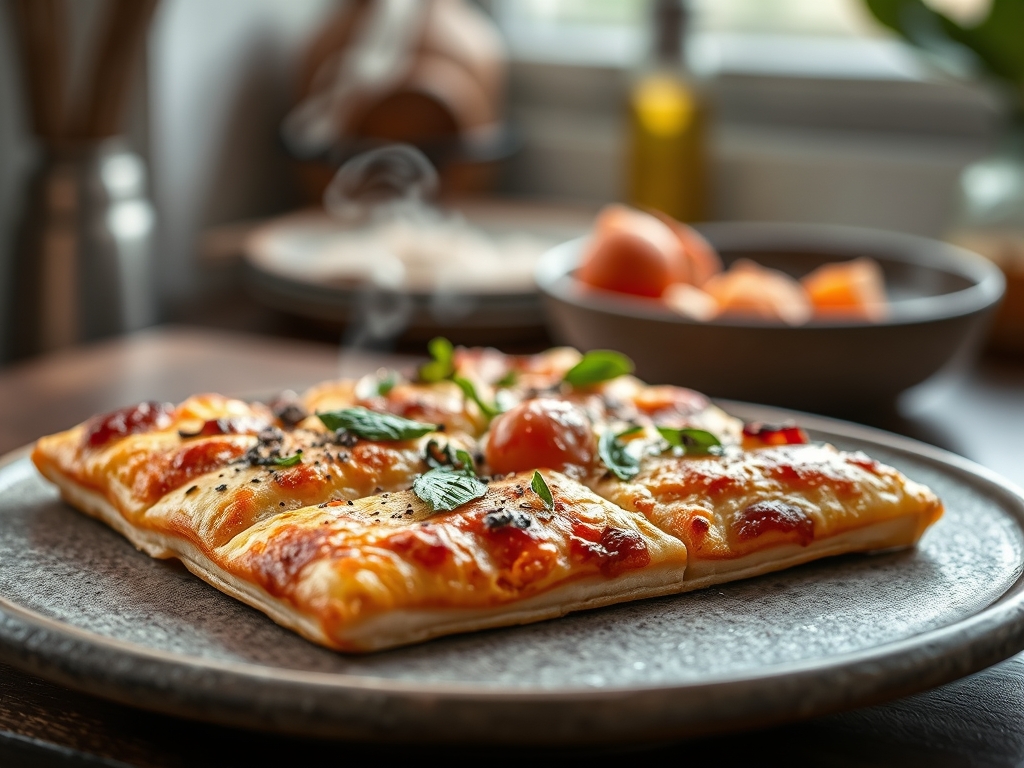
Stop looking at that limp, frozen slab of disappointment in your freezer and prepare for a structural revolution. We are not just baking bread here; we are engineering a masterpiece of amylose gelatinization. The Sicillian Square Crust is the undisputed heavyweight champion of the pizza world. It is a thick, sponge-based marvel that demands respect through its sheer architectural integrity. Imagine a crumb so airy it defies gravity, yet a base so fried and golden that it shatters like glass upon impact. This is the intersection of high-hydration chemistry and thermal intensity. We are looking for a crumb structure that is almost lace-like, achieved through a precise fermentation window that allows the yeast to aerate the dough until it threatens to overflow its steel boundaries. This is not a thin, floppy street slice. This is a monolithic slab of doughy excellence, designed to support a heavy payload of sauce and cheese without buckling under the pressure. If you are ready to stop playing with flour and start auditing your gluten network, then pull up a chair. The audit begins now.
THE DATA MATRIX
| Metric | Specification |
|---|---|
| Prep Time | 45 Minutes (Active) |
| Execution Time | 24 to 72 Hours (Fermentation) |
| Yield | 1 Full Sheet Pan (12-15 Servings) |
| Complexity (1-10) | 7.5 |
| Estimated Cost per Serving | $0.85 USD |
THE GATHERS
Ingredient Protocol:
- 800g / 6.25 cups High-Protein Bread Flour (13% protein minimum)
- 560ml / 2.3 cups Filtered Water (Room temperature, 21C / 70F)
- 20g / 1.25 tbsp Sea Salt (Fine grain)
- 10g / 2.5 tsp Instant Dry Yeast
- 60ml / 4 tbsp Extra Virgin Olive Oil (Cold pressed)
- 15g / 1 tbsp Diastatic Malt Powder (Optional for browning)
Section A: Ingredient Quality Audit:
If your flour lacks the necessary protein content, your Sicillian Square Crust will lack the structural "bones" to hold its shape. Sub-par, low-protein all-purpose flour results in a gummy, dense interior that fails to aerate. Fix this by sourcing "00" high-gluten flour or adding vital wheat gluten to your mix. If your yeast is sluggish, do not proceed. Perform a bloom test in warm water; if it does not foam within five minutes, discard it. Using tap water with high chlorine levels can also inhibit yeast activity. Use filtered water to ensure the biological environment remains hospitable for fermentation. Finally, do not skimp on the olive oil. Low-quality oils have low smoke points and will turn bitter during the high-heat bake. Use a robust, peppery oil to infuse the crust with flavor.
THE MASTERCLASS
1. The Initial Hydration and Autolyse
Combine your flour and water in a large bowl and mix until no dry spots remain. Let this shaggy mass rest for 30 minutes. This process, known as autolyse, allows the flour to fully hydrate and begins the development of the gluten network without any manual labor.
Pro Tip: Use a digital scale for this step. Volumetric measurements are the enemy of consistency in high-hydration doughs. Even a 5% variance in water can ruin the crumb structure.
2. Yeast Integration and Mechanical Development
Incorporate the yeast, salt, and malt powder into the dough. If using a stand mixer, use the dough hook on medium speed for 8 to 10 minutes until the dough pulls away from the sides and exhibits a smooth, satiny finish.
Pro Tip: Use a bench scraper to manage the dough during the transfer. This tool minimizes contact with your hands, preventing the dough from sticking and maintaining the temperature of the mass.
3. The Bulk Fermentation and Folding
Place the dough in a lightly oiled container. Every 30 minutes for the first two hours, perform a "stretch and fold." Reach under the dough, pull it upward, and fold it over itself. This strengthens the gluten without degassing the precious bubbles.
Pro Tip: This is where we render the dough extensible. Proper folding creates a layered effect in the gluten, which leads to the signature vertical lift seen in the masterclass photo.
4. Cold Cure and Gas Retention
Transfer the dough to the refrigerator for at least 24 hours. Cold fermentation slows down the yeast, allowing complex organic acids to develop, which results in a deeper, more piquant flavor profile.
Pro Tip: Ensure your container is airtight. A dry skin forming on the dough is a catastrophic failure that will create hard knots in the finished Sicillian Square Crust.
5. The Pan Proof and Dimpling
Coat a heavy-duty steel baking pan with a generous layer of olive oil. Gently transfer the dough to the pan. Do not force it to the corners. Let it rest for 2 hours, dimpling it with your fingertips every 30 minutes until it naturally fills the space.
Pro Tip: Use your fingertips like a piano player to create "focaccia-style" craters. These pockets catch the sauce and prevent the cheese from sliding off during the bake.
6. Thermal Execution
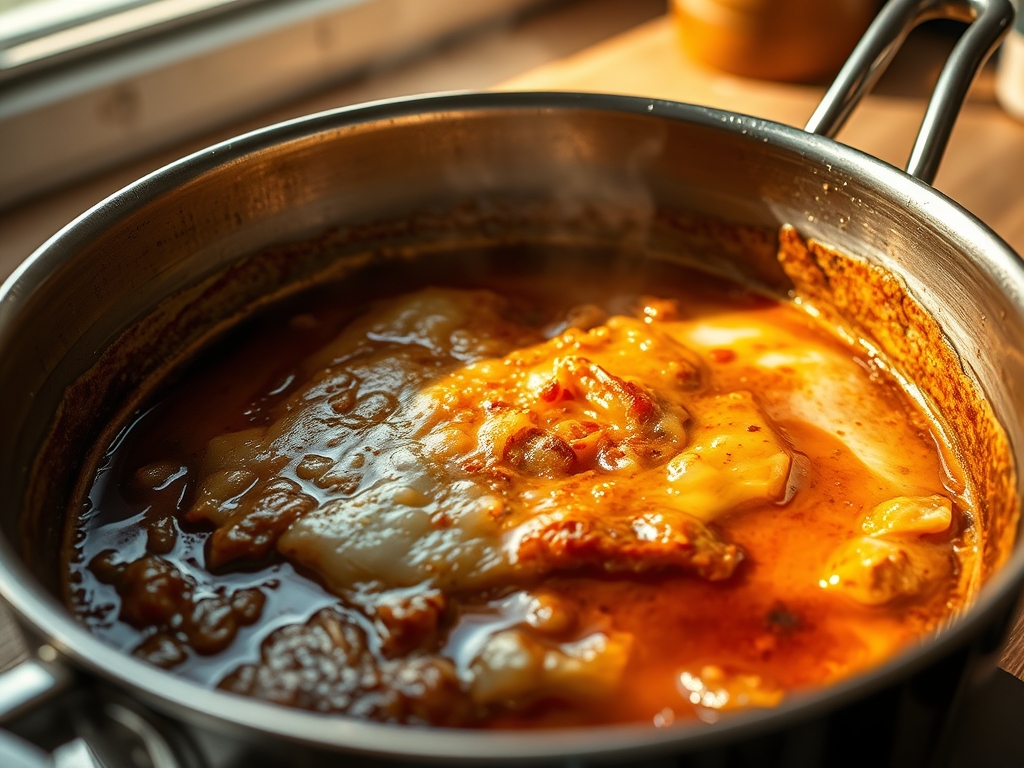
Preheat your oven to its maximum setting, ideally 260C / 500F. Place the pan on the bottom rack to ensure the base fries in the oil, creating a golden, crunchy exterior. Bake for 15 to 20 minutes until the edges are charred and the cheese is bubbling.
Pro Tip: Use an infrared thermometer to check the pan surface. You want the steel to be screaming hot to achieve the Maillard reaction necessary for that iconic crust.
Section B: Prep & Timing Fault-Lines:
The most common human error is impatience. If you rush the pan proofing stage, the dough will "spring back" from the corners, resulting in an uneven thickness. If your kitchen is too cold, the yeast will go dormant. Aim for a proofing environment of 24C / 75F. If you over-proof the dough, it will collapse when you add the toppings. The "finger poke test" is your best friend; if the dough springs back slowly and leaves a small indentation, it is ready for the oven.
THE VISUAL SPECTRUM
Section C: Thermal & Visual Troubleshooting:
Referencing the Masterclass photo, your crust should exhibit "leopard spotting" on the bottom and a deep mahogany hue on the edges. If your crust is pale and soft, your oven temperature was too low or you did not use enough oil in the pan. The oil acts as a heat conductor, essentially frying the dough. If the top is burning before the bottom is crisp, move the pan to a lower rack. If the crumb is dense and "cakey" rather than airy, you likely degassed the dough too much during the dimpling process. Be gentle; you are preserving a pressurized gas network.
THE DEEP DIVE
Macro Nutrition Profile:
A single serving of this Sicillian Square Crust (approx. 150g) contains roughly 380 calories, 12g of protein, 55g of carbohydrates, and 14g of fat. The high fat content comes primarily from the heart-healthy olive oil used to fry the base.
Dietary Swaps:
- Vegan: This recipe is naturally vegan as long as your toppings are plant-based.
- Keto: Replace wheat flour with a blend of almond flour, lupin flour, and vital wheat gluten. Note that the texture will be significantly denser.
- GF: Use a high-quality 1-to-1 gluten-free baking flour and add 2% xanthan gum to mimic the gluten elasticity.
Meal Prep & Reheating Science:
To maintain the molecular structure, never microwave this crust. The microwave causes water molecules to vibrate rapidly, turning the starch gummy. Instead, reheat slices in a dry skillet over medium heat for 3 minutes, then add a teaspoon of water to the pan and cover with a lid for 60 seconds to steam the top.
THE KITCHEN TABLE
Why is my crust so tough?
You likely over-worked the dough or used flour with too much protein without sufficient hydration. Increase your water content by 2% next time to soften the crumb and ensure a more viscous initial mix.
Can I skip the cold ferment?
You can, but you shouldn't. The 24-hour cold cure is essential for flavor development and better browning. Without it, your crust will taste like plain white bread rather than a professional Sicillian Square Crust.
Why did my dough stick to the pan?
You didn't use enough oil, or your pan isn't properly seasoned. The dough should practically swim in olive oil. This is what creates the "fried" texture and ensures a non-stick release.
What is the best cheese for this?
A low-moisture mozzarella mixed with white cheddar provides the best melt and "cheese pull." Avoid fresh mozzarella, as the high water content will turn your beautiful airy sponge into a soggy mess.

