
Listen to the sound of a preheated cast iron skillet screaming for mercy as the cold batter hits the grease. That violent hiss is the anthem of the perfect Cornbread Crust Char. We are not here to bake a soft, sponge-like cake that crumbles under the weight of a gentle breeze. We are here to engineer a structural masterpiece with a perimeter so dark and jagged it could cut glass. The secret lies in the violent exchange of thermal energy between the seasoned metal and the cornmeal slurry. When that golden batter meets a reservoir of shimmering fat, the Leidenfrost effect momentarily suspends the liquid before the intense heat triggers a rapid dehydration of the exterior cells. This is where the magic happens. We are chasing a deep, mahogany ring that smells of toasted nuts and woodsmoke. If your cornbread does not have a distinct, audible snap when you bite into the corner, you have failed the audit. Let us recalibrate your kitchen for maximum crunch and structural integrity.
THE DATA MATRIX
| Metric | Specification |
|---|---|
| Prep Time | 15 Minutes |
| Execution Time | 25 Minutes |
| Yield | 8 Triangular Wedges |
| Complexity | 4 / 10 |
| Estimated Cost per Serving | $0.45 USD |
THE GATHERS
Ingredient Protocol:
- 240g / 2 cups Yellow Stone-Ground Cornmeal
- 60g / 0.5 cup All-Purpose Flour
- 5g / 1 tsp Fine Sea Salt
- 12g / 2.5 tsp Baking Powder
- 2g / 0.5 tsp Baking Soda
- 355ml / 1.5 cups Full-Fat Buttermilk
- 2 Large Eggs (Room Temperature)
- 60ml / 4 tbsp Unsalted Butter (Melted)
- 45ml / 3 tbsp Rendered Bacon Fat or Lard
Section A: Ingredient Quality Audit:
If your cornmeal is too fine, your crumb will be indistinguishable from a muffin; you must seek out stone-ground varieties to provide the necessary surface area for a superior Cornbread Crust Char. If your buttermilk lacks that signature viscous pull, it likely lacks the acidity required to react with the leavening agents. You can troubleshoot this by adding a teaspoon of lemon juice to infuse the liquid with extra protons. Never use "spreads" or margarine in place of animal fats. These substitutes contain high water content which will steam the bottom of your bread rather than frying it. To achieve a professional-grade crust, the fat must have a high smoke point and zero water content.
THE MASTERCLASS
1. Thermal Loading the Vessel
Place a 10-inch heavy-gauge cast iron skillet into an oven preheated to 220C / 425F. This step is non-negotiable. You are turning your skillet into a heat sink that will provide the initial thermal shock necessary to render the fat and sear the batter instantly.
Pro Tip: Use an infrared thermometer to ensure the skillet surface has reached at least 215C before adding the fat. A professional digital scale should be used to measure all dry ingredients to ensure consistent density and heat distribution.
2. The Dry Phase Aeration
In a large stainless steel mixing bowl, whisk together the cornmeal, flour, salt, and leavening agents. You must aerate the mixture thoroughly to prevent dense pockets that will lead to uneven baking. Use a bench scraper to level off your measuring cups if you are not using a scale.
Pro Tip: Sifting the dry ingredients through a fine-mesh strainer removes clumps of baking soda that can create bitter, metallic "hot spots" in the finished crumb.
3. Emulsifying the Liquid Matrix
In a separate saucier, whisk the eggs into the buttermilk until the mixture is completely homogenous. Slowly stream in the melted butter while whisking constantly to create a stable emulsion. If the butter is too hot, it will scramble the eggs; ensure it is just warm to the touch.
Pro Tip: Room temperature eggs incorporate more easily into the lactic acid of the buttermilk, preventing the fat from seizing and ensuring a uniform crumb structure.
4. The High-Velocity Integration
Combine the wet and dry ingredients. Use a large rubber spatula to fold the mixture just until no dry streaks remain. Over-mixing will develop gluten, turning your crisp masterpiece into a rubbery disappointment. The batter should be thick but pourable.
Pro Tip: Professional bakers allow the batter to rest for five minutes. This allows the cornmeal to hydrate, which leads to a more tender interior that contrasts sharply with the rugged exterior.
5. The Searing Execution
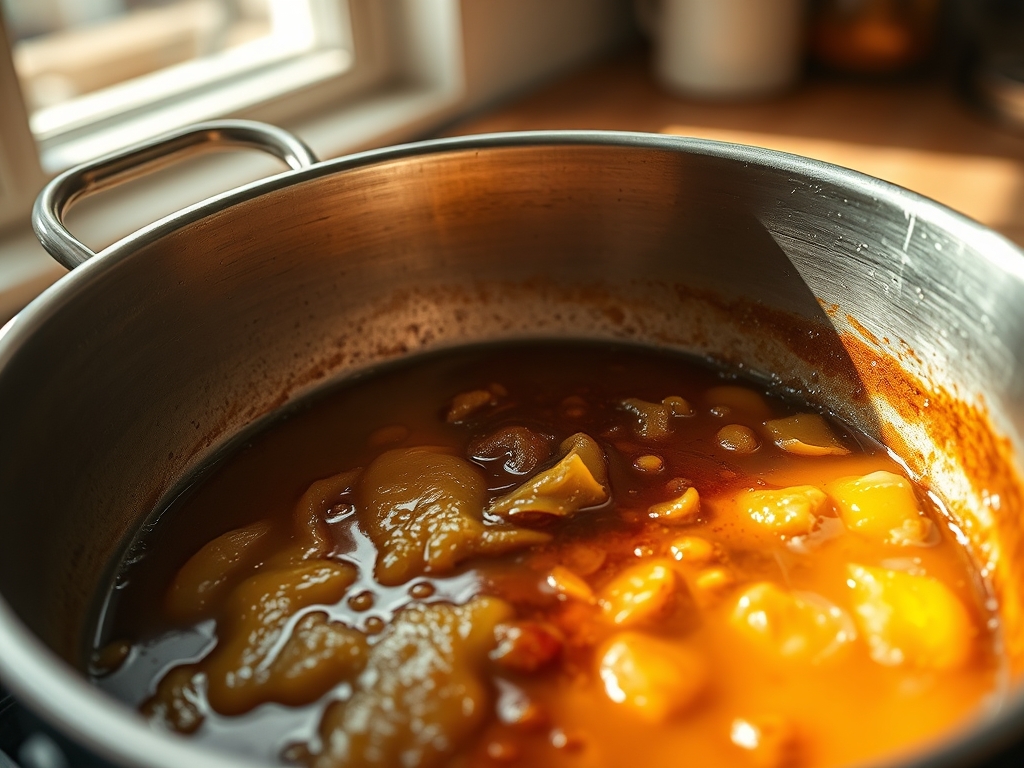
Carefully remove the white-hot skillet from the oven and drop in the bacon fat. It should smoke almost immediately. Swirl the fat to coat the sides of the pan. Pour the batter into the center of the skillet. You should see the edges begin to fry and bubble instantly. This is the foundation of your Cornbread Crust Char.
Pro Tip: Use a heavy-duty silicone mitt to handle the skillet. The intense heat of the cast iron is unforgiving and will penetrate standard cloth towels in seconds.
6. The Final Combustion
Return the skillet to the oven and bake for 20 to 25 minutes. The top should be golden, but the perimeter—where the batter meets the iron—should be a dark, caramelized brown. Use a toothpick to check the center; it should come out clean with a few moist crumbs.
Pro Tip: For an extra layer of flavor, deglaze the skillet with a brush of honey-butter immediately after pulling it from the oven while the iron is still radiating heat.
Section B: Prep & Timing Fault-Lines:
The most common human error is a lack of patience during the preheating phase. If the skillet is not at the target temperature, the batter will stick to the metal, and the crust will be pale and flaccid. Another timing error involves the "wet-to-dry" window. Once the buttermilk hits the baking soda, the chemical reaction begins. If you wait too long to get the batter into the oven, the carbon dioxide will escape, and your cornbread will be as flat as a coaster.
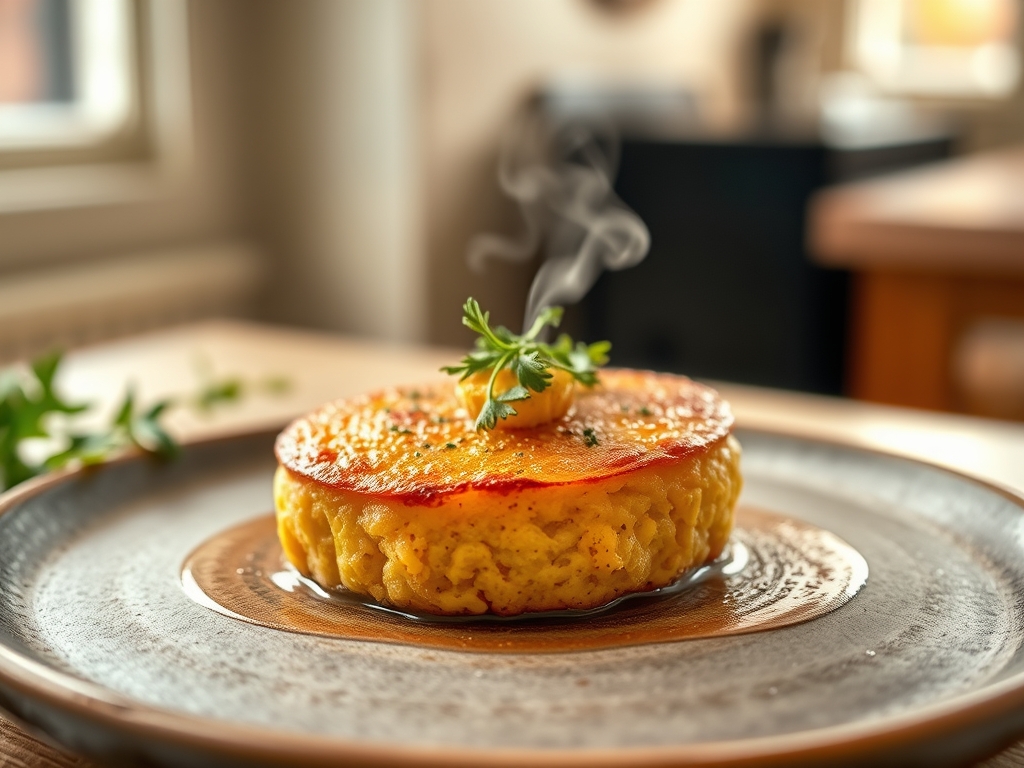
THE VISUAL SPECTRUM
Section C: Thermal & Visual Troubleshooting:
Observe the photo above. You are looking for a "halo" effect where the edges are significantly darker than the center. If your cornbread is a uniform yellow, your oven temperature was likely too low. If the center is sunken, you likely opened the oven door too early, causing a thermal collapse. To fix uneven browning, ensure your skillet is centered on the middle rack to allow for proper convection. A dull, matte finish on the top usually indicates a lack of moisture; a quick brush of fat before the final five minutes of baking will provide that professional sheen.
THE DEEP DIVE
Macro Nutrition Profile:
A standard wedge contains approximately 280 calories, 32g of carbohydrates, 14g of fat, and 6g of protein. The high fat content is essential for the frying action that creates the crust.
Dietary Swaps:
- Vegan: Replace buttermilk with soy milk plus 15ml of apple cider vinegar. Use coconut oil instead of bacon fat.
- Keto: Substitute cornmeal with almond flour and corn extract. Note that the crust will be softer due to the lack of starch.
- GF: Use a certified gluten-free 1:1 flour blend in place of the all-purpose flour.
Meal Prep & Reheating Science:
To maintain the molecular structure of the crust, never reheat cornbread in a microwave. The steam will turn the crust into mush. Instead, place a slice in a dry skillet over medium heat for two minutes per side. This re-activates the fats and restores the crunch.
THE KITCHEN TABLE
Why is my crust bitter?
You likely used too much baking soda or failed to whisk it properly. This creates alkaline pockets that taste soapy. Ensure your measurements are precise using a digital scale.
Can I use a glass baking dish?
No. Glass is an insulator and cannot hold the thermal energy required to create a legitimate Cornbread Crust Char. Cast iron is the only acceptable infrastructure for this task.
How do I get the bread out cleanly?
If your skillet is properly seasoned and the fat was screaming hot, the bread should slide out. Run a thin offset spatula around the perimeter to release any stubborn charred bits.
Why is the interior dry?
You likely overbaked it or used a cornmeal that was too coarse without enough hydration. Increase the buttermilk by 30ml next time or reduce the bake time by three minutes.

