
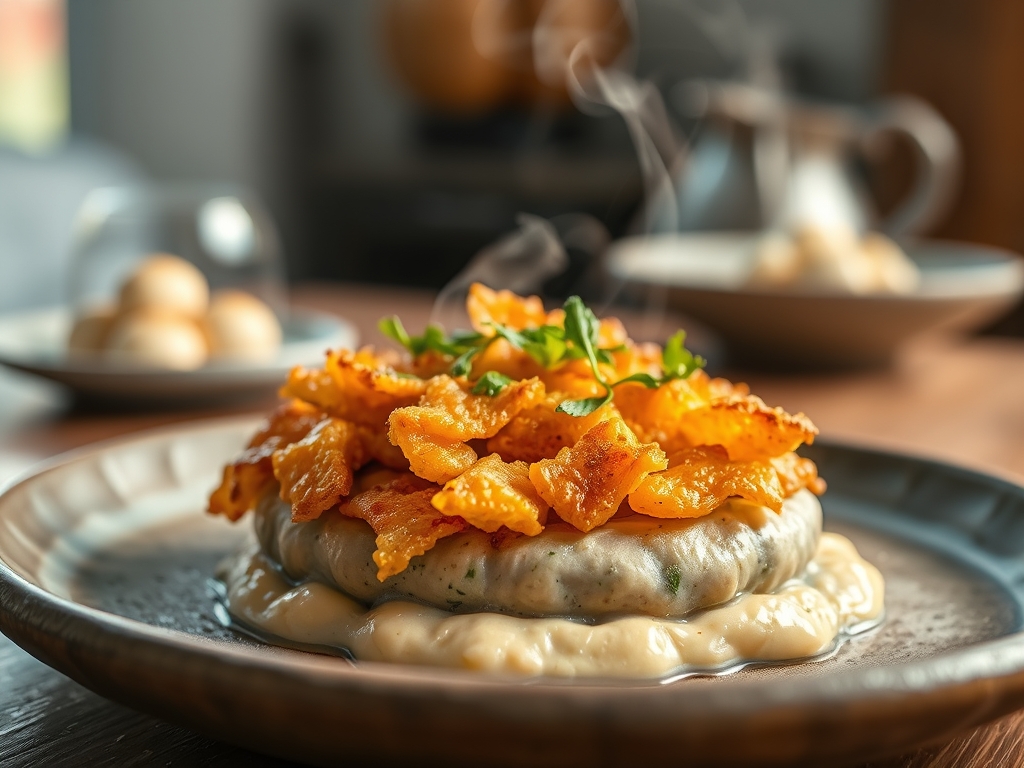
Imagine the sound of a thousand microscopic glass shards shattering in perfect, rhythmic unison. That is the auditory signature of a world-class Dutch Crunch Topping. This is not just a bread coating; it is a structural marvel of culinary engineering. When you bite into a Tiger Bread roll, you are engaging with a dual-texture interface that pits a soft, pillowy crumb against a rugged, topographical landscape of dehydrated rice paste. The magic lies in the chemical divorce that happens in the oven. As the yeast in the dough expands, the non-elastic rice paste on top refuses to stretch. It cracks. It craters. It browns into a deeply toasted, nutty mosaic that smells like caramelized malt and toasted sesame. We are here to audit the infrastructure of this crust. We are moving beyond simple baking and into the realm of surface tension management and enzymatic browning. If your current crust is lackluster or soggy, your infrastructure is failing. It is time to rebuild the crunch from the ground up.
THE DATA MATRIX
| Metric | Specification |
|---|---|
| Prep Time | 15 Minutes |
| Execution Time | 25 Minutes (Baking Duration) |
| Yield | Covers 12 Standard Rolls |
| Complexity (1-10) | 4 (Precision Dependent) |
| Estimated Cost per Serving | $0.12 USD |
THE GATHERS
Ingredient Protocol:
- 120g / 3/4 cup White Rice Flour (Superfine preferred)
- 110ml / 1/2 cup Warm Water (38C / 100F)
- 15g / 1.5 tbsp Active Dry Yeast
- 15g / 1 tbsp Granulated Sugar
- 15ml / 1 tbsp Toasted Sesame Oil or Neutral Oil
- 2g / 1/4 tsp Fine Sea Salt
Section A: Ingredient Quality Audit:
The most common failure point in a Dutch Crunch Topping is the rice flour particle size. If your flour is gritty, the paste will not infuse properly with the liquids, resulting in a sandy texture rather than a crisp one. Audit your flour by rubbing it between your thumb and forefinger; it should feel like silk, not cornmeal. If it is too coarse, pulse it in a high-speed blender to further aerate and pulverize the grains. Furthermore, check your yeast vitality. If the yeast is expired, the paste will not expand and "crack" effectively. To fix a sluggish paste, ensure your water temperature is precisely calibrated using a digital thermometer. If the paste feels too viscous, add water one teaspoon at a time until it reaches a thick, paintable consistency.
THE MASTERCLASS
Step-by-Step Execution:
1. The Hydration Phase
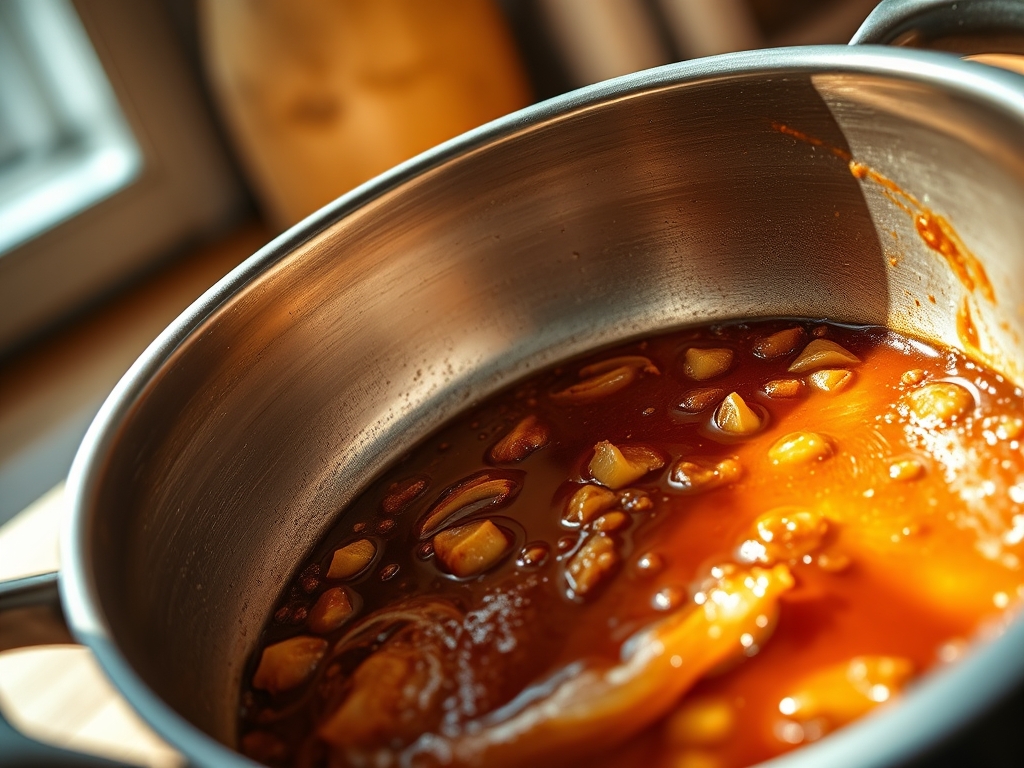
In a small stainless steel saucier or mixing bowl, combine the warm water, sugar, and yeast. Whisk vigorously to ensure the sugar is fully dissolved, providing immediate fuel for the yeast. Let this sit for five minutes until a thick foam forms on the surface.
Pro Tip: This pre-hydration ensures the yeast is fully active before it meets the rice flour. Using a digital scale for these small measurements is non-negotiable; even a 2-gram variance can alter the surface tension of the final crust.
2. Constructing the Slurry
Slowly sift the rice flour into the yeast mixture while whisking. Add the oil and salt. The goal is to create a paste that is thick enough to hold its shape but fluid enough to spread. It should resemble thick pancake batter or heavy cream.
Pro Tip: The addition of oil is a secret weapon. It helps render the heat more effectively across the surface of the paste, leading to a more uniform Maillard reaction and a deeper golden hue.
3. The Fermentation Rest
Cover the bowl and allow the paste to stand at room temperature for 15 to 20 minutes. You want to see small bubbles forming throughout the mixture. This indicates the paste is producing carbon dioxide, which will help it "lift" and crack during the bake.
Pro Tip: Use a bench scraper to clean the sides of the bowl during this rest. Keeping the paste concentrated ensures the enzymes stay active and the hydration remains consistent throughout the batch.
4. Application and Interface
Once your bread dough has finished its shaped proof, use a pastry brush to apply a thick, even layer of the paste over the top of each roll. Do not be shy; a thin layer will simply disappear, while a thick layer creates the iconic "tiger" ridges.
Pro Tip: Avoid getting the paste on the baking sheet. The high sugar and starch content will cause it to stick to the pan, potentially tearing the bottom of your rolls when you try to remove them.
5. The Thermal Transformation
Place the rolls into a preheated oven at 200C (400F). As the bread undergoes "oven spring," the rice paste will dry out and fracture. The sugar and rice starch will undergo intense browning, creating the characteristic mottled appearance seen in the reference photo.
Pro Tip: For the most dramatic cracking, use a steam-injection setting or place a pan of hot water at the bottom of the oven for the first 10 minutes. This keeps the paste flexible just long enough for the bread to expand fully before the crust sets.
Section B: Prep & Timing Fault-Lines:
Timing is the invisible ingredient. If you apply the paste too early, it will weigh down the dough and inhibit the final rise. If you apply it too late, the paste won't have time to bond with the dough surface, leading to a crust that flakes off entirely. The "Goldilocks" zone is applying the paste exactly 10 minutes before the rolls go into the oven. Additionally, ensure your kitchen isn't too cold; a drafty room will stall the yeast in the paste, resulting in a flat, dull grey topping rather than a vibrant, fractured landscape.
THE VISUAL SPECTRUM
Section C: Thermal & Visual Troubleshooting:
Look closely at the Masterclass photo. Notice the deep mahogany valleys and the pale, sandy ridges. If your topping is a uniform light brown, you have likely under-baked or missed the sugar component. Sugar is essential for the Maillard reaction. If the topping is shedding like dandruff, the paste was too dry; increase the water or oil in your next batch. If the "cracks" are too small, your bread didn't expand enough in the oven. Check your dough's proofing stage. The visual cues of a perfect Dutch Crunch are large, distinct islands of crunch separated by deep, dark fissures. If the surface looks "muddy," you likely over-mixed the paste, breaking down the starch structures required for clean fracturing.
THE DEEP DIVE
Macro Nutrition Profile:
The Dutch Crunch Topping adds approximately 45 calories per roll, primarily from complex carbohydrates (rice starch) and a small amount of fats (sesame oil). It is low in protein but high in texture-derived satisfaction.
Dietary Swaps:
- Vegan: The standard recipe is already vegan. Ensure your sugar is bone-char free.
- Keto: This is difficult as rice flour is the structural backbone. A mixture of almond flour and egg white can mimic the look, but the "shatter" will be less pronounced.
- Gluten-Free: Since the topping uses rice flour, it is naturally gluten-free. Just ensure your base bread follows GF protocols.
Meal Prep & Reheating Science:
To maintain the molecular structure of the crunch, never store Dutch Crunch bread in plastic bags; the trapped moisture will migrate from the bread to the crust, turning it into a gummy film. Store in a paper bag. To reheat, avoid the microwave at all costs. Use a toaster oven at 175C (350F) for 3 minutes to re-dehydrate the rice interface and restore the "glass-shatter" quality.
THE KITCHEN TABLE
Why is my topping sliding off the bread?
The paste was likely too thin or the dough surface was too floured. Ensure the dough is slightly tacky before brushing. The oil in the paste helps it "grip" the gluten structure of the underlying loaf during the bake.
Can I use brown rice flour instead?
Yes, but the texture will be significantly grittier and the flavor more assertive. Brown rice flour contains bran, which can interfere with the clean "cracking" mechanism. Expect a more rustic, earthier appearance and a denser crunch.
My topping is bitter. What happened?
You likely over-baked the rolls or used an old sesame oil. The high heat of the oven can cause the oils and sugars to cross the line from caramelized to carbonized. Watch for a deep mahogany color, not black.
Can I make the paste in advance?
It is not recommended. The yeast will over-ferment, leading to an acidic "off" flavor and a loss of structural integrity. For the best topographical results, the paste should be mixed and used within a 30-minute window.

