
Imagine a structural failure so catastrophic it ruins your entire evening. You spend hours sourcing the finest heirloom stone fruits or rendering a savory beef marrow filling; only to have the foundation dissolve into a soggy, translucent mess. This is the "Soggy Bottom" syndrome; a culinary infrastructure collapse that haunts every amateur baker. To prevent this, we must implement a rigorous Blind Baking Protocol. This is not merely a suggestion; it is the thermal security system for your crust. We are talking about the difference between a crust that shatters like fine porcelain and one that slumps like wet cardboard. By pre-setting the thermal cycles of your pastry, you lock in the molecular architecture of the gluten and fat. This ensures that when the wet filling hits the surface, the barrier remains impenetrable. We are aiming for a golden, aerated lattice of lipids and flour that can withstand the most viscous of fillings. Prepare to audit your technique and upgrade your kitchen to industrial-grade standards of crispness.
THE DATA MATRIX
| Metric | Specification |
|---|---|
| Prep Time | 20 Minutes (Excluding Chilling) |
| Execution Time | 45 Minutes |
| Yield | 1 Standard 9-inch / 23cm Tart Shell |
| Complexity (1-10) | 7 |
| Estimated Cost per Serving | $0.85 |
THE GATHERS
Ingredient Protocol:
- 315g / 2.5 cups All-Purpose Flour (unbleached).
- 225g / 1 cup Unsalted Butter (chilled to exactly 4 degrees Celsius).
- 5g / 1 teaspoon Fine Sea Salt.
- 15g / 1 tablespoon Granulated Sugar (optional for sweet applications).
- 60ml to 120ml / 0.25 to 0.5 cup Ice Water (filtered).
- 5ml / 1 teaspoon Apple Cider Vinegar (to inhibit gluten development).
Section A: Ingredient Quality Audit:
The primary failure point in any Blind Baking Protocol is the temperature of the lipids. If your butter is soft, it will emulsify into the flour rather than remaining in discrete pockets. This results in a crumbly, shortbread texture rather than a flaky, laminated one. If your flour has a protein content exceeding 11 percent, the crust will be tough and elastic. To fix this, cut your butter into small cubes and freeze them for 15 minutes prior to integration. If you find your dough is too dry, do not simply pour water; use a spray bottle to mist the flour. This allows for even hydration without creating localized "mud" spots that lead to uneven shrinking during the thermal cycle.
THE MASTERCLASS
1. The Mechanical Integration
Begin by combining your dry ingredients in a chilled stainless steel bowl. Use a professional bench scraper to cut the frozen butter into the flour until the largest pieces are the size of peas. You are looking to coat the fat in starch without melting it.
Pro Tip: The science here is about "fat-coating." By using a bench scraper instead of your hands, you prevent the transfer of body heat, ensuring the butter remains solid until it hits the oven, where it will steam and create those coveted air pockets.
2. Hydration and Agglomeration
Slowly add your ice water mixed with vinegar. Use a fork to toss the mixture until it just begins to hold together when squeezed. Do not overwork the dough; you are not kneading bread. You are merely encouraging the proteins to bond lightly.
Pro Tip: Use a digital scale to measure your water. Volume measurements are notoriously inaccurate for liquids. The vinegar acts as a chemical tenderizer, breaking down gluten strands to ensure a tender "snap" in the final product.
3. The Cold-Phase Stabilization
Shape the dough into a flat disc, wrap it in professional-grade plastic wrap, and refrigerate for at least two hours. This allows the moisture to distribute evenly through the starch granules and relaxes the gluten.
Pro Tip: This resting period is critical for preventing "shrink-back." If you skip this, the elastic memory of the gluten will cause the crust to pull away from the edges of your tart pan during the Blind Baking Protocol.
4. Precision Rolling and Docking
Roll the dough on a lightly floured surface to a thickness of 3mm. Transfer it to your pan, pressing it firmly into the corners. Use a fork to "dock" the bottom, creating tiny vents for steam to escape.
Pro Tip: Use a heavy-duty rolling pin with ball bearings for even pressure. Docking prevents the center of the crust from heaving upward like a volcanic dome during the initial thermal blast.
5. The Weighted Thermal Cycle
Line the dough with parchment paper and fill it to the brim with ceramic pie weights or dried beans. Bake at 200 degrees Celsius for 15 minutes. Remove the weights and the paper, then bake for another 10 to 15 minutes until the base is dry and golden.
Pro Tip: Filling the weights to the very top provides structural support to the sidewalls. This prevents the edges from collapsing inward before the proteins have a chance to set.
Section B: Prep & Timing Fault-Lines:
The most common human error is pulling the crust too early. If the center looks "blonde" or damp, it is not ready. Another fault-line is the "Thermal Shock" error; moving a frozen crust directly into a low-temperature oven. This causes the fat to leak out before the structure sets, resulting in a greasy, shrunken mess. Always ensure your oven is fully calibrated and preheated for at least 30 minutes before the crust enters the chamber.
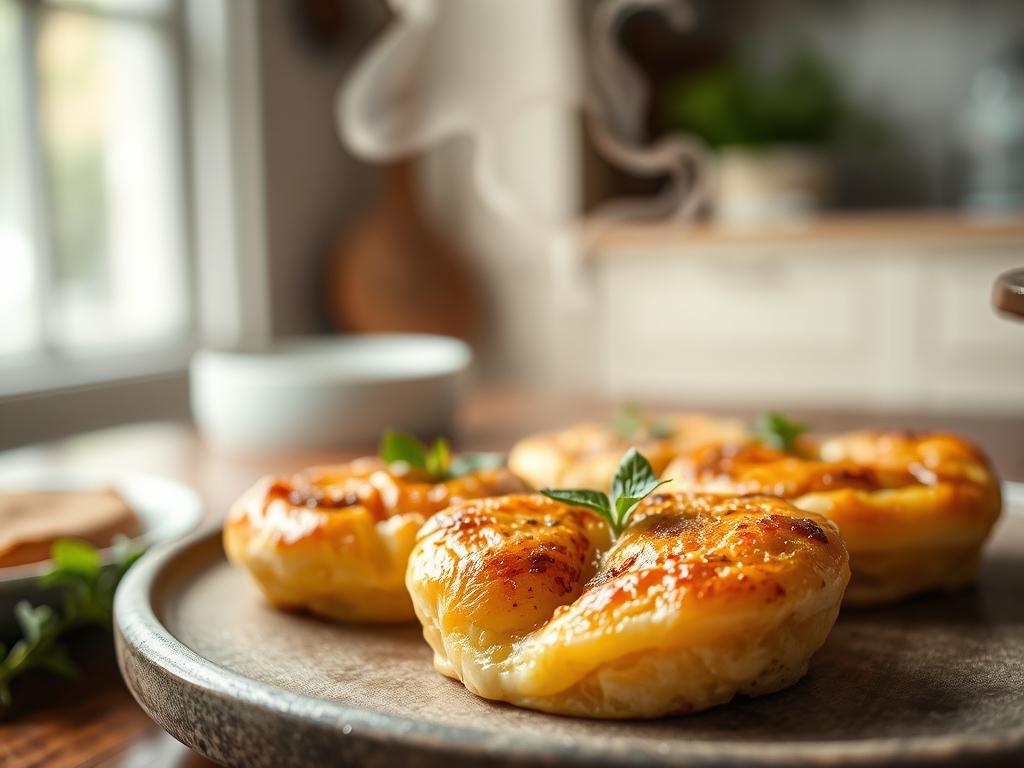
THE VISUAL SPECTRUM
Section C: Thermal & Visual Troubleshooting:
Look closely at the Masterclass photo above. Notice the "Micro-Blistering" on the surface. This is a visual cue of a successful Blind Baking Protocol; it indicates that the water in the butter turned to steam and expanded the dough layers. If your crust is pale and smooth, you likely overworked the dough or used warm butter. If you see uneven browning, your oven has "hot spots." Rotate the pan 180 degrees halfway through the cycle. If the edges are dark but the bottom is raw, use a pie shield or aluminum foil to protect the perimeter while the base finishes its molecular transition. A perfectly executed crust should have a matte, golden-wheat finish with a visible "flake" when viewed from the side.
THE DEEP DIVE
Macro Nutrition Profile:
A standard serving of this crust (1/8th of a pie) contains approximately 280 calories, 18g of fat, 26g of carbohydrates, and 3g of protein. While it is fat-dense, the satiety factor of high-quality lipids means you need less to feel satisfied.
Dietary Swaps:
- Vegan: Substitute the butter with high-quality coconut oil (solid state) or a vegan butter block with a high fat-to-water ratio.
- Keto: Utilize almond flour and xanthan gum, though the Blind Baking Protocol must be shortened as nut flours burn faster.
- GF: Use a 1-to-1 gluten-free flour blend containing rice flour and potato starch to mimic the structural integrity of wheat.
Meal Prep & Reheating Science:
To maintain the molecular structure, never microwave a pre-baked crust. This agitates water molecules and turns the fat flabby. Reheat in a 150-degree Celsius oven for 5 minutes to re-crisp the lipid layers. You can store a blind-baked shell in an airtight container for up to 3 days at room temperature.
THE KITCHEN TABLE
Why did my crust shrink down the sides?
Shrinkage usually indicates insufficient resting time. If the gluten is not relaxed, it acts like a rubber band. Ensure you chill the dough for at least two hours before rolling and another 30 minutes after placing it in the pan.
Can I use rice instead of pie weights?
Absolutely. Rice is an excellent thermal conductor and fits into the small crevices of the crust better than large beans. Just be aware that you cannot cook the rice for consumption afterward; keep it in a jar for future baking.
What is the "Egg Wash" trick?
Brushing a thin layer of beaten egg white over the crust during the last 5 minutes of baking creates a protein shield. This "waterproofs" the crust, preventing wet fillings from migrating into the pastry and causing sogginess.
How do I know if I overmixed the dough?
If the dough feels elastic and bounces back when you poke it, you have developed too much gluten. A perfect dough should feel like cold clay; pliable but willing to hold its shape without snapping back.

