
Forget the limp, cardboard delivery boxes and the soggy centers of standard oven-rack baking. We are here to discuss the absolute dominance of direct conduction. When you transition your dough to a heavy, seasoned vessel, you are no longer just cooking; you are performing a high-stakes thermal audit of the Maillard reaction. A Cast Iron Pizza Crust is the gold standard of home engineering. It utilizes the massive thermal mass of the skillet to flash-vaporize moisture on contact, creating a micro-cellular structure that is shatteringly crisp on the exterior while remaining pillowy and aerated within. This is not a casual Friday night meal. This is a technical pursuit of the perfect crumb. We are looking for that specific, deep mahogany finish that only occurs when lipids and starches collide at high temperatures under the pressure of a heavy pan. Listen for the sizzle as the dough hits the oil. That is the sound of success. If your crust does not sound like breaking glass when sliced, you have failed the audit. Let us begin the calibration.
THE DATA MATRIX
| Metric | Specification |
|---|---|
| Prep Time | 20 Minutes (plus 2-24 hour fermentation) |
| Execution Time | 15 Minutes |
| Yield | 1 x 12-inch Pizza |
| Complexity (1-10) | 4 |
| Estimated Cost per Serving | $2.50 |
THE GATHERS
Ingredient Protocol:
- High-Protein Bread Flour: 400g / 3.25 cups
- Filtered Water (95F): 280ml / 1.15 cups
- Fine Sea Salt: 10g / 2 teaspoons
- Instant Yeast: 4g / 1.25 teaspoons
- Extra Virgin Olive Oil: 30ml / 2 tablespoons
- Whole Milk Mozzarella: 225g / 8 ounces
- San Marzano Tomato Puree: 120ml / 0.5 cups
- Fresh Basil: 5g / 1 small bunch
Section A: Ingredient Quality Audit:
The primary failure point in a Cast Iron Pizza Crust is often the hydration level of the dough. If your flour has a low protein content, it will not support the gas bubbles produced during fermentation, resulting in a dense, leaden disk. Ensure you are using flour with at least 12.5 percent protein. If your yeast is sluggish, do not proceed. Perform a bloom test in warm water; if it does not aerate and foam within five minutes, discard it. Furthermore, pre-shredded cheese is a technical liability. It is coated in potato starch to prevent clumping, which interferes with the viscous melt and creates a grainy mouthfeel. Always grate your own high-moisture mozzarella to ensure a proper fat render during the bake.
THE MASTERCLASS
Step-by-Step Execution:
1. The Hydration Phase
Combine your flour, salt, and yeast in a large glass bowl. Gradually incorporate the filtered water using a bench scraper to fold the mass until no dry pockets remain. This is the autolyse phase where enzymes begin breaking down starches into simple sugars.
Pro Tip: Use a digital scale for measurements rather than volume cups. Precision in hydration (we are aiming for 70 percent) is the difference between a tough crust and a superior Cast Iron Pizza Crust.
2. Cold Fermentation Protocol
Cover the dough and let it rest at room temperature for two hours, then transfer to the refrigerator for at least 12 hours. Cold fermentation allows for a slower CO2 production, which creates more complex flavor compounds and a better internal structure.
Pro Tip: Cold dough is easier to handle. The chilled environment slows down the yeast, allowing the gluten network to relax without over-proofing, which prevents the dough from snapping back during shaping.
3. Vessel Preparation
Place your 12-inch cast iron skillet on the stovetop over medium-high heat. Add the olive oil and swirl to coat. We are looking to infuse the base of the dough with fat to facilitate a shallow fry effect while the top bakes.
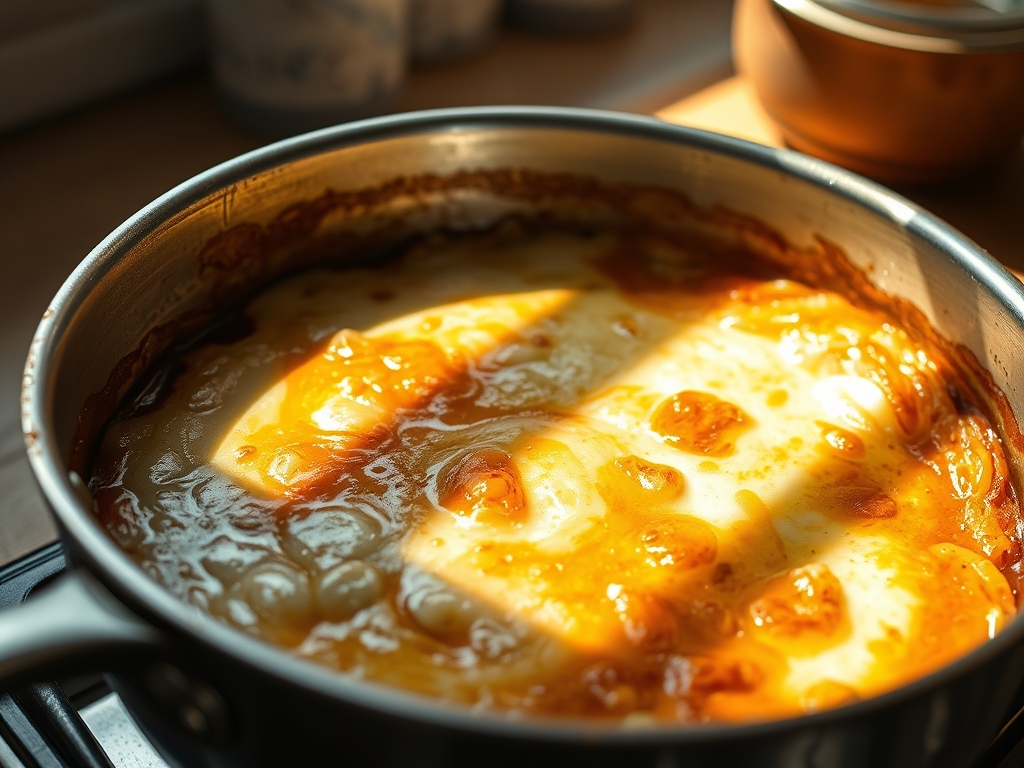
Pro Tip: A saucier can be used to pre-warm your tomato sauce, ensuring that the cold sauce doesn't drop the surface temperature of the dough and cause a "gum line" between the crust and toppings.
4. The Thermal Contact
Gently stretch the dough to the edges of the hot skillet. You should hear an immediate, aggressive sizzle. Spread the sauce to the very edges; this allows the sugars in the sauce to caramelize against the iron walls of the pan.
Pro Tip: Use a digital infrared thermometer to ensure the pan surface is between 450F and 500F before the dough makes contact. This ensures immediate steam expansion for a lighter crumb.
5. The High-Heat Finish
Transfer the skillet to the top rack of an oven preheated to 525F (or your highest setting). Bake for 10 to 12 minutes until the cheese is bubbling and the edges are charred.
Pro Tip: Use a metal spatula to lift the edge and check the bottom. If the top is done but the bottom lacks a deep brown hue, return the pan to the stovetop for 60 seconds to finish the sear.
Section B: Prep & Timing Fault-Lines:
The most common human error is the "Cold Pan Syndrome." If you place dough into a cold skillet and then put it in the oven, the dough will absorb the oil rather than searing in it. This results in a greasy, heavy crust. Another timing error is the "Premature Slice." If you cut the pizza immediately upon removal from the heat, the internal steam will collapse the cell structure. Give the pizza three minutes on a wire rack to allow the starches to set.
THE VISUAL SPECTRUM
Section C: Thermal & Visual Troubleshooting:
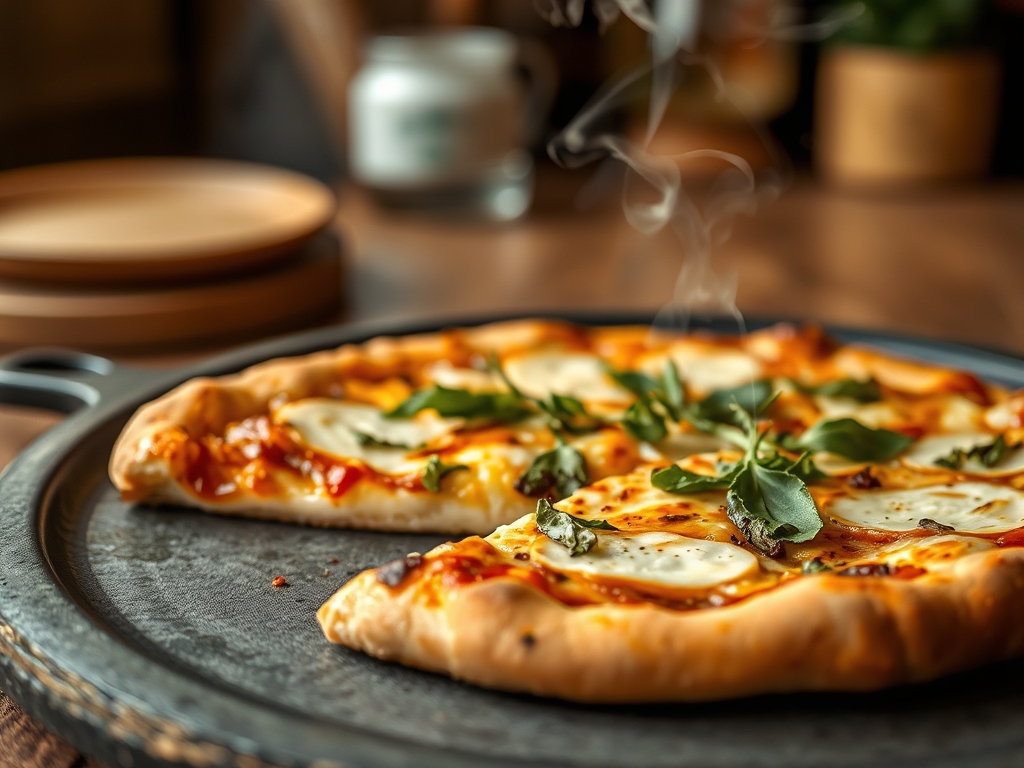
Referencing the Masterclass photo, your goal is "Leopard Spotting" on the bottom and a dark, lacey "frico" edge where the cheese met the iron. If your crust looks pale or chalky, your oven temperature was too low or your fermentation was too short, resulting in insufficient residual sugars for browning. If the cheese has separated into a pool of oil, you likely used a "part-skim" mozzarella which lacks the structural integrity for high-heat conduction. A perfect Cast Iron Pizza Crust should show a distinct contrast between the blackened charred bubbles and the golden-brown ridges. If the center is soggy, you likely overloaded the surface with high-moisture toppings like fresh tomatoes or un-drained canned mushrooms.
THE DEEP DIVE
Macro Nutrition Profile
A single serving (1/4 of a 12-inch pizza) typically contains 380 calories, 14g of protein, 45g of carbohydrates, and 16g of fat. The high-heat sear actually reduces the amount of oil absorbed by the dough compared to deep-dish styles, as the immediate crust formation creates a barrier.
Dietary Swaps
- Vegan: Substitute mozzarella with a cashew-based ferment and use a honey-free dough recipe.
- Keto: This is difficult for direct conduction, but a "Fathead" dough (mozzarella and almond flour) can be used, though it requires a lower starting temperature to prevent burning.
- GF: Use a high-quality 1-to-1 gluten-free blend with added xanthan gum to mimic the elasticity required for the skillet stretch.
Meal Prep & Reheating Science
To maintain the molecular integrity of the crust, never use a microwave. The microwave agitates water molecules, turning your crisp crust into rubber. Instead, reheat slices in a dry cast iron skillet over medium heat for 3 minutes, then add a teaspoon of water to the pan and cover with a lid for 30 seconds to re-melt the cheese.
THE KITCHEN TABLE
Why is my dough snapping back when I stretch it?
The gluten is too tight. Let the dough rest at room temperature for 30 minutes. This allows the protein bonds to relax, making the dough more extensible and easier to fit into the corners of your skillet.
Can I use store-bought dough for this?
Yes, but perform an audit first. Store-bought dough is often under-hydrated. Let it sit at room temperature for two hours in a lightly oiled bowl to allow it to soften and begin a secondary fermentation before stretching.
How do I prevent the bottom from burning before the top is done?
Move your oven rack to the highest position. The heat reflecting off the top of the oven will cook the toppings faster. If the bottom is darkening too quickly, slide a baking sheet onto the rack below the skillet.
What is the best way to clean the skillet after pizza?
While the pan is still warm, use a chainmail scrubber and hot water. Avoid soap. The residual oil from the Cast Iron Pizza Crust actually helps build the seasoning for your next culinary audit.

