

Listen to the sound of a structural failure. It is the dry, cardboard-like snap of a poorly executed dough. For too long, the culinary world has treated the Whole Wheat Pizza Crust as a consolation prize for the health-conscious; a dense, leaden disc that lacks the structural integrity of its refined white counterparts. We are here to end that narrative. When you handle high-density grain bases, you are not just cooking; you are managing a complex lattice of bran fiber and gluten protein. The goal is a crust that boasts a shattered-glass exterior and a crumb so light it defies its own mineral weight. Imagine the aroma of toasted walnuts and malted barley filling your laboratory. Feel the tension of the dough as it transitions from a sticky mass to a silky, resilient membrane. This is about the physics of hydration and the chemistry of fermentation. We are building an edible infrastructure that supports the most decadent toppings while maintaining its own distinct, nutty profile. It is time to audit your technique and elevate your grain game to professional standards.
THE DATA MATRIX
| Metric | Specification |
|---|---|
| Prep Time | 25 Minutes (Active) |
| Execution Time | 24 to 72 Hours (Fermentation) |
| Yield | 4 Dough Balls (250g each) |
| Complexity (1-10) | 7 |
| Estimated Cost per Serving | $0.85 USD |
THE GATHERS
Ingredient Protocol:
- 500g / 4 cups Stone-Ground Whole Wheat Flour (High Protein)
- 375ml / 1.5 cups Filtered Water (Room Temperature)
- 10g / 2 tsp Fine Sea Salt
- 3g / 1 tsp Instant Dry Yeast
- 15ml / 1 tbsp Extra Virgin Olive Oil
- 10ml / 2 tsp Diastatic Malt Powder (Optional for browning)
Section A: Ingredient Quality Audit:
The primary failure point in a Whole Wheat Pizza Crust is the age of the flour. Whole grains contain the germ, which is rich in oils that can go rancid. If your flour smells like old crayons, your crust is doomed. Always source stone-ground varieties to ensure the bran hasn't been pulverized into "dust" that cuts through gluten strands. If your dough feels excessively tight or snaps back during shaping, your hydration is too low. Whole wheat requires at least 75 percent hydration because the bran acts as a sponge, soaking up moisture that would otherwise go to gluten development. To fix a dry dough, add water in 10ml increments using a spray bottle to ensure even distribution without creating a swamp.
THE MASTERCLASS
1. The Autolyse Phase
Combine your flour and water in a large bowl and mix until no dry spots remain. Let this slurry rest for 40 minutes before adding yeast or salt. This allows the bran to fully hydrate and softens the sharp edges of the fiber.
Pro Tip: Use a digital scale for this step. Volumetric measurements are the enemy of consistency; a "cup" of flour can vary by 30 grams depending on how it is packed. Precision is the foundation of repeatable excellence.
2. Kinetic Integration
Incorporate your yeast, salt, and oil. Use a bench scraper to fold the dough over itself. You are not looking for a traditional knead; you are looking for a series of "stretch and folds" to build tension without overworking the bran.
Pro Tip: The bench scraper is essential for managing high-hydration doughs. It minimizes skin contact, which prevents the dough from warming up too quickly and keeps your workspace clean.
3. Cold Fermentation
Place the dough in a lightly oiled container and refrigerate for at least 24 hours. This is where the magic happens. Enzymes break down complex starches into simple sugars, which will later participate in the Maillard reaction.
Pro Tip: Cold fermentation allows for a slower gas expansion. This creates a more complex flavor profile and a "bubbly" rim that is usually impossible to achieve with whole wheat.
4. Precision Portioning
Divide the dough into four equal segments. Tension each piece by pulling the edges toward the center to create a tight, smooth skin on the top of the dough ball.
Pro Tip: Use your digital scale to ensure each ball is exactly 250g. Uniformity in mass ensures uniformity in bake time, preventing the dreaded "half-burnt, half-raw" pizza scenario.
5. The Final Launch
Stretch the dough by hand; never use a rolling pin, as it will aerate the dough right out of existence. Aim for a thin center and a slightly thicker edge. Bake at the highest possible temperature your oven allows.
Pro Tip: A baking steel or heavy stone is mandatory. You need high thermal mass to transfer heat instantly to the bottom of the crust, causing "oven spring" before the bran can weigh the structure down.
Section B: Prep & Timing Fault-Lines:
The most common human error is impatience. If you pull the dough straight from the fridge and try to stretch it, the gluten will be too tight and the dough will tear. Give the dough at least two hours to reach room temperature. Another critical fault is over-topping. A Whole Wheat Pizza Crust is structurally sound, but excessive moisture from watery sauce or low-quality cheese will turn the base into a viscous mess. Always render the fat out of meat toppings and drain your mozzarella before application.
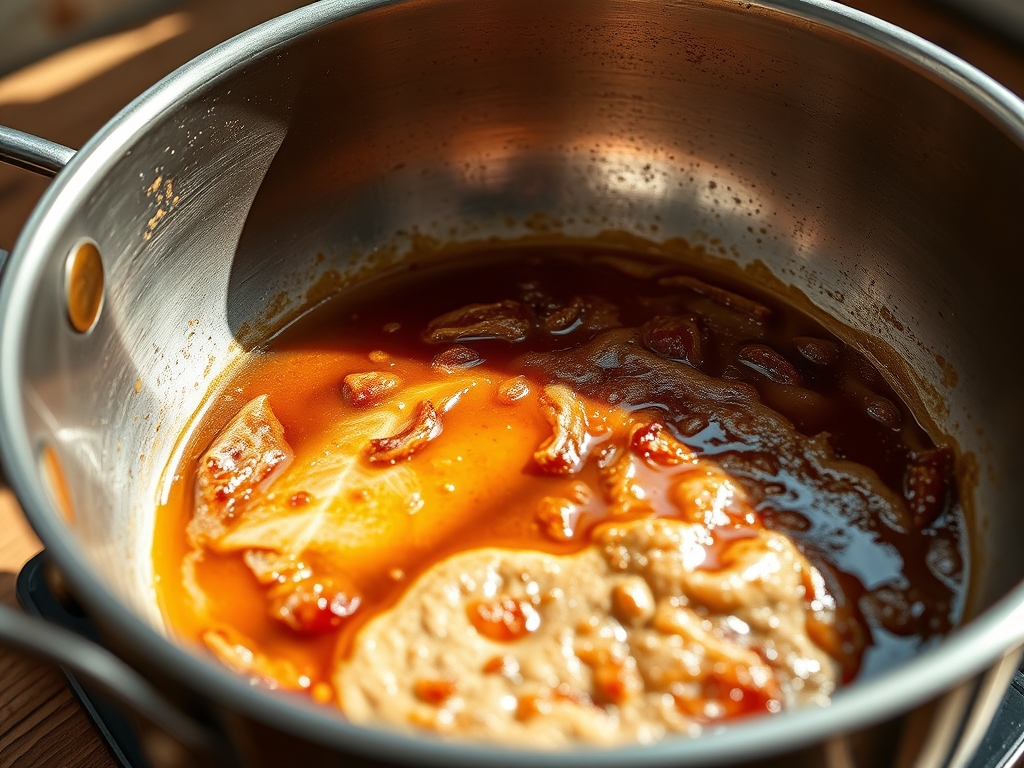
THE VISUAL SPECTRUM
Section C: Thermal & Visual Troubleshooting:
Look at the reference photo. Notice the "leopard spotting" on the crust; these are charred micro-bubbles that signify a long fermentation. If your crust looks pale and uniform, you likely skipped the diastatic malt or didn't ferment long enough. If the texture is crumbly like a muffin rather than chewy like bread, you have under-developed the gluten. The visual cue for a perfect bake is a deep mahogany color, not golden brown. Whole wheat has a darker baseline; if you pull it when it looks like white bread, it will be undercooked in the center. Use an infrared thermometer to ensure your baking surface is at least 500 degrees Fahrenheit before the launch.
THE DEEP DIVE
Macro Nutrition Profile:
A single 250g dough ball provides approximately 650 calories, 28g of protein, and 12g of dietary fiber. The high fiber content slows the glycemic response, making this a superior fuel source for sustained energy compared to refined flour.
Dietary Swaps:
- Vegan: This recipe is naturally vegan. Ensure your sugar source (if using) is vegan-certified.
- Keto: Replace wheat with a blend of almond flour, vital wheat gluten, and oat fiber. Note: The structural physics will change entirely.
- GF: Use a high-quality 1:1 gluten-free blend with added xanthan gum to mimic the "stretch" of wheat.
Meal Prep & Reheating Science:
To maintain the molecular structure when reheating, avoid the microwave at all costs. The microwave excites water molecules, turning the bran into a soggy sponge. Instead, use a dry skillet over medium heat for three minutes to recrisp the bottom, then add a teaspoon of water to the pan and cover with a lid for 30 seconds to infuse the cheese with steam without softening the base.
THE KITCHEN TABLE
Why is my whole wheat crust so dense?
You likely lacked sufficient hydration or skipped the autolyse. Bran absorbs more water than white flour; without extra moisture, the gluten cannot expand, resulting in a heavy, puck-like consistency.
Can I substitute honey for the malt powder?
Yes. Honey provides the glucose necessary for browning and adds a piquant sweetness that complements the nuttiness of the wheat. Use 15g of honey for this recipe.
How long can I keep the dough in the fridge?
Up to five days. After day three, the flavor becomes more sourdough-like. Beyond day five, the acid levels may begin to break down the gluten structure, leading to a "slack" dough.
Do I need a stand mixer?
No. While a mixer can aerate the dough quickly, the stretch-and-fold method by hand is superior for whole wheat as it prevents over-oxidation of the delicate oils in the grain.

