
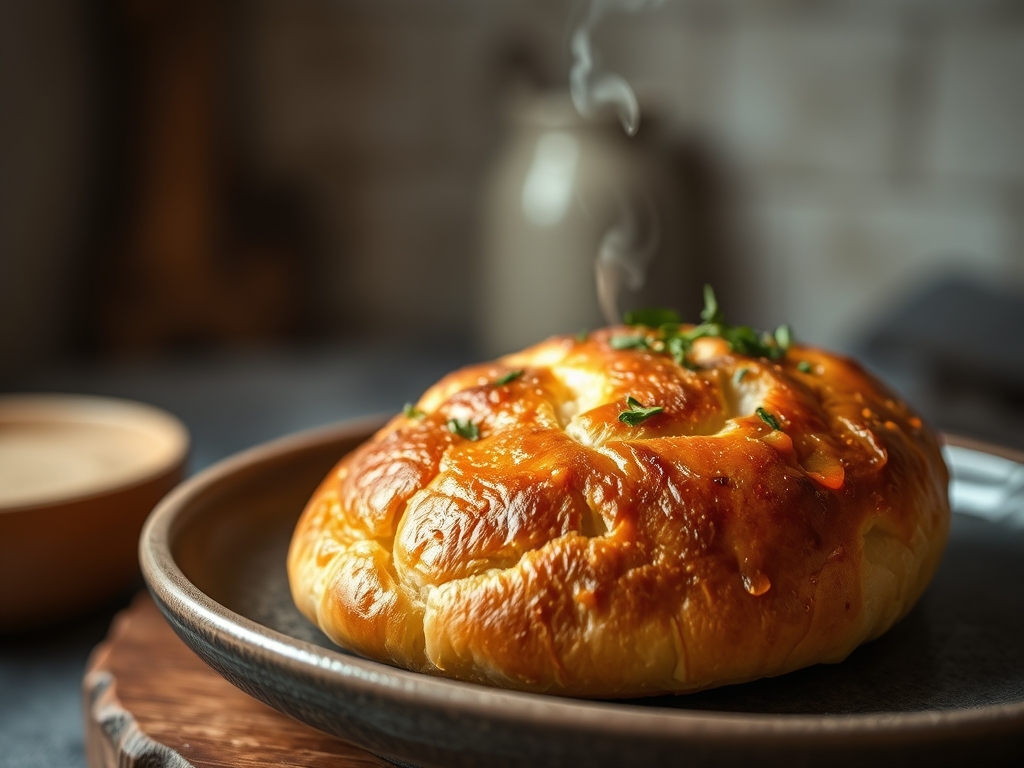
The scent hits you before the steam clears. It is the smell of caramelizing sugars and scorched flour; a primitive, intoxicating aroma that signals a successful thermal transformation. You pull the heavy cast iron lid away and there it is. The Dutch Oven Bread Crust is a topographical map of deep mahogany craters and golden ridges. It crackles as it meets the cool air, a phenomenon known as the "bread song." This is not just a loaf of bread. It is a structural masterpiece engineered through the manipulation of high-moisture environments. By trapping the moisture expelled by the dough, the heavy vessel creates a miniature steam chamber. This prevents the surface from drying out too early, allowing the dough to expand to its maximum volume before the heat triggers the Maillard reaction. The result is a glass-like exterior that shatters under a serrated blade, protecting a crumb that remains soft, airy, and perfectly hydrated. If you are tired of lackluster, dusty loaves, it is time to audit your infrastructure.
THE DATA MATRIX
| Metric | Specification |
|---|---|
| Prep Time | 20 Minutes (Active) / 18 Hours (Fermentation) |
| Execution Time | 45 Minutes |
| Yield | 1 Large Boule (approx. 850g) |
| Complexity | 4 / 10 |
| Estimated Cost per Serving | $0.45 USD |
THE GATHERS
Ingredient Protocol:
- 500g / 3.8 cups All-Purpose or Bread Flour
- 375ml / 1.5 cups Filtered Water (lukewarm)
- 10g / 2 tsp Fine Sea Salt
- 2g / 0.5 tsp Active Dry Yeast
- Extra flour for dusting the bench scraper
Section A: Ingredient Quality Audit:
If your flour has a protein content below 11 percent, your gluten network will lack the structural integrity to support high-moisture expansion. This results in a flat, dense disc rather than a lofty boule. To fix this, replace 50g of your flour with Vital Wheat Gluten or switch to a high-protein bread flour. If your yeast is sluggish, do not proceed. Test it in a small ramekin with warm water and a pinch of sugar; if it does not aerate and foam within five minutes, discard it. Using chlorinated tap water can also inhibit yeast activity. Use filtered water to ensure the microbial environment remains optimal for gas production.
THE MASTERCLASS
1. The Hydration Phase
Combine your dry ingredients in a large glass bowl before pouring in the water. Use a sturdy spatula to mix until no dry flour remains and a viscous, shaggy mass forms. There is no need for intensive kneading here. We are relying on autolyse and time to develop the gluten.
Pro Tip: Use a digital scale for this step. Volumetric measurements are notoriously inaccurate; a few extra grams of flour can turn a supple dough into a brick. Precision is the foundation of repeatable excellence.
2. The Long Fermentation
Cover the bowl tightly with plastic wrap and let it sit at room temperature (approx. 70 degrees Fahrenheit) for 12 to 18 hours. During this window, enzymes break down starches into simple sugars, which will eventually infuse the crust with deep flavor and color.
Pro Tip: If your kitchen is cold, place the bowl inside a turned-off oven with the light on. This creates a consistent proofing box environment, ensuring the yeast remains active throughout the cycle.
3. Shaping and Structural Tension
Dust your work surface generously. Use a bench scraper to turn the dough out. Fold the edges toward the center to create a tight ball. Flip it over so the seam side is down and use your palms to pull the dough toward you, creating surface tension on the "skin" of the loaf.
Pro Tip: High surface tension is the secret to a dramatic "ear" or burst. Without this tension, the gases will escape haphazardly, and you will lose that iconic Dutch Oven Bread Crust definition.
4. The Thermal Charge
Place your empty Dutch oven into the oven and preheat to 450 degrees Fahrenheit for at least 30 minutes. The pot must be saturated with heat to act as a heat sink. Carefully drop the dough into the scorching pot, score the top with a sharp blade, and replace the lid immediately.
Pro Tip: Professional bakers use a lame or a fresh razor blade for scoring. A clean, deep cut directs the expansion of the loaf, preventing the crust from rupturing at the base.
5. The Unveiling and Final Cure
Bake with the lid on for 30 minutes to capture the steam. Remove the lid to expose the loaf to direct radiant heat for the final 15 minutes. This is when the Maillard reaction accelerates, turning the pale dough into a dark, blistered masterpiece.
Pro Tip: Internal temperature is the only objective measure of doneness. Use an instant-read thermometer to ensure the center has reached 205 to 210 degrees Fahrenheit before removal.
Section B: Prep & Timing Fault-Lines:
The most common human error is rushing the preheat. If the Dutch oven is not sufficiently hot, the dough will stick to the bottom and the bottom crust will be tough rather than crisp. Another failure point is over-proofing. If the dough bubbles and then collapses, you have waited too long. The gluten has weakened and will not support the "oven spring" required for a light crumb. Aim for the dough to double in size, not triple.
THE VISUAL SPECTRUM
Section C: Thermal & Visual Troubleshooting:
Look at the reference photo. Note the "micro-blistering" on the surface. These tiny bubbles are a sign of long, cold fermentation and high hydration. If your crust is smooth and dull, you likely under-hydrated the dough or used too much dusting flour on the exterior. If the bottom of the loaf is scorched black while the top is pale, your oven's bottom heating element is too aggressive. Place a baking sheet on the rack below the Dutch oven to deflect the direct intensity. If the crust is soft after cooling, you likely pulled it out too early. The "cure" happens in the final 10 minutes; do not be afraid of a dark, nearly burnt edge.
THE DEEP DIVE
Macro Nutrition Profile:
A standard slice (approx. 50g) contains roughly 130 calories, 26g of carbohydrates, 4g of protein, and 0.5g of fat. While it is a high-carb food, the long fermentation process lowers the glycemic index compared to commercial white bread, making it easier on blood sugar levels.
Dietary Swaps:
For a vegan version, this recipe is already compliant. For a gluten-free alternative, you must utilize a blend of rice flour, potato starch, and xanthan gum. Note that gluten-free dough will not exhibit the same elasticity and requires a specialized "pourable" Dutch oven technique. Keto versions rely on almond flour and egg whites, though they will never achieve the same glass-like Dutch Oven Bread Crust.
Meal Prep & Reheating Science:
To maintain the molecular structure, never refrigerate bread; this accelerates staling through starch retrogradation. Store at room temperature in a paper bag for 48 hours. To revive a stale loaf, mist the crust with water and place it in a 350-degree oven for 10 minutes. This re-hydrates the starch molecules and restores the crispness of the exterior.
THE KITCHEN TABLE
Why is my crust chewy instead of crunchy?
You likely removed the lid too late or your oven temperature was too low. The steam is essential for expansion, but dry heat is required to solidify the crust into a crisp shell. Ensure a full 15 minutes of lid-off baking.
Can I use a glass pot instead of cast iron?
You can, but cast iron is superior for heat retention. Glass does not radiate heat as evenly, which may lead to "hot spots" and uneven browning. If using glass, reduce the temperature by 25 degrees.
Do I need to grease the Dutch oven?
No. If the pot is properly preheated, the high heat creates a physical barrier that prevents sticking. Adding oil or butter will simply smoke and create acrid flavors at 450 degrees.
What is the best way to slice this without crushing it?
Wait at least one hour. Slicing hot bread allows steam to escape prematurely, which turns the remaining crumb gummy. Use a high-quality serrated bread knife and let the weight of the blade do the work.

